Livestream Setup Instructions
1. Retrieve Equipment
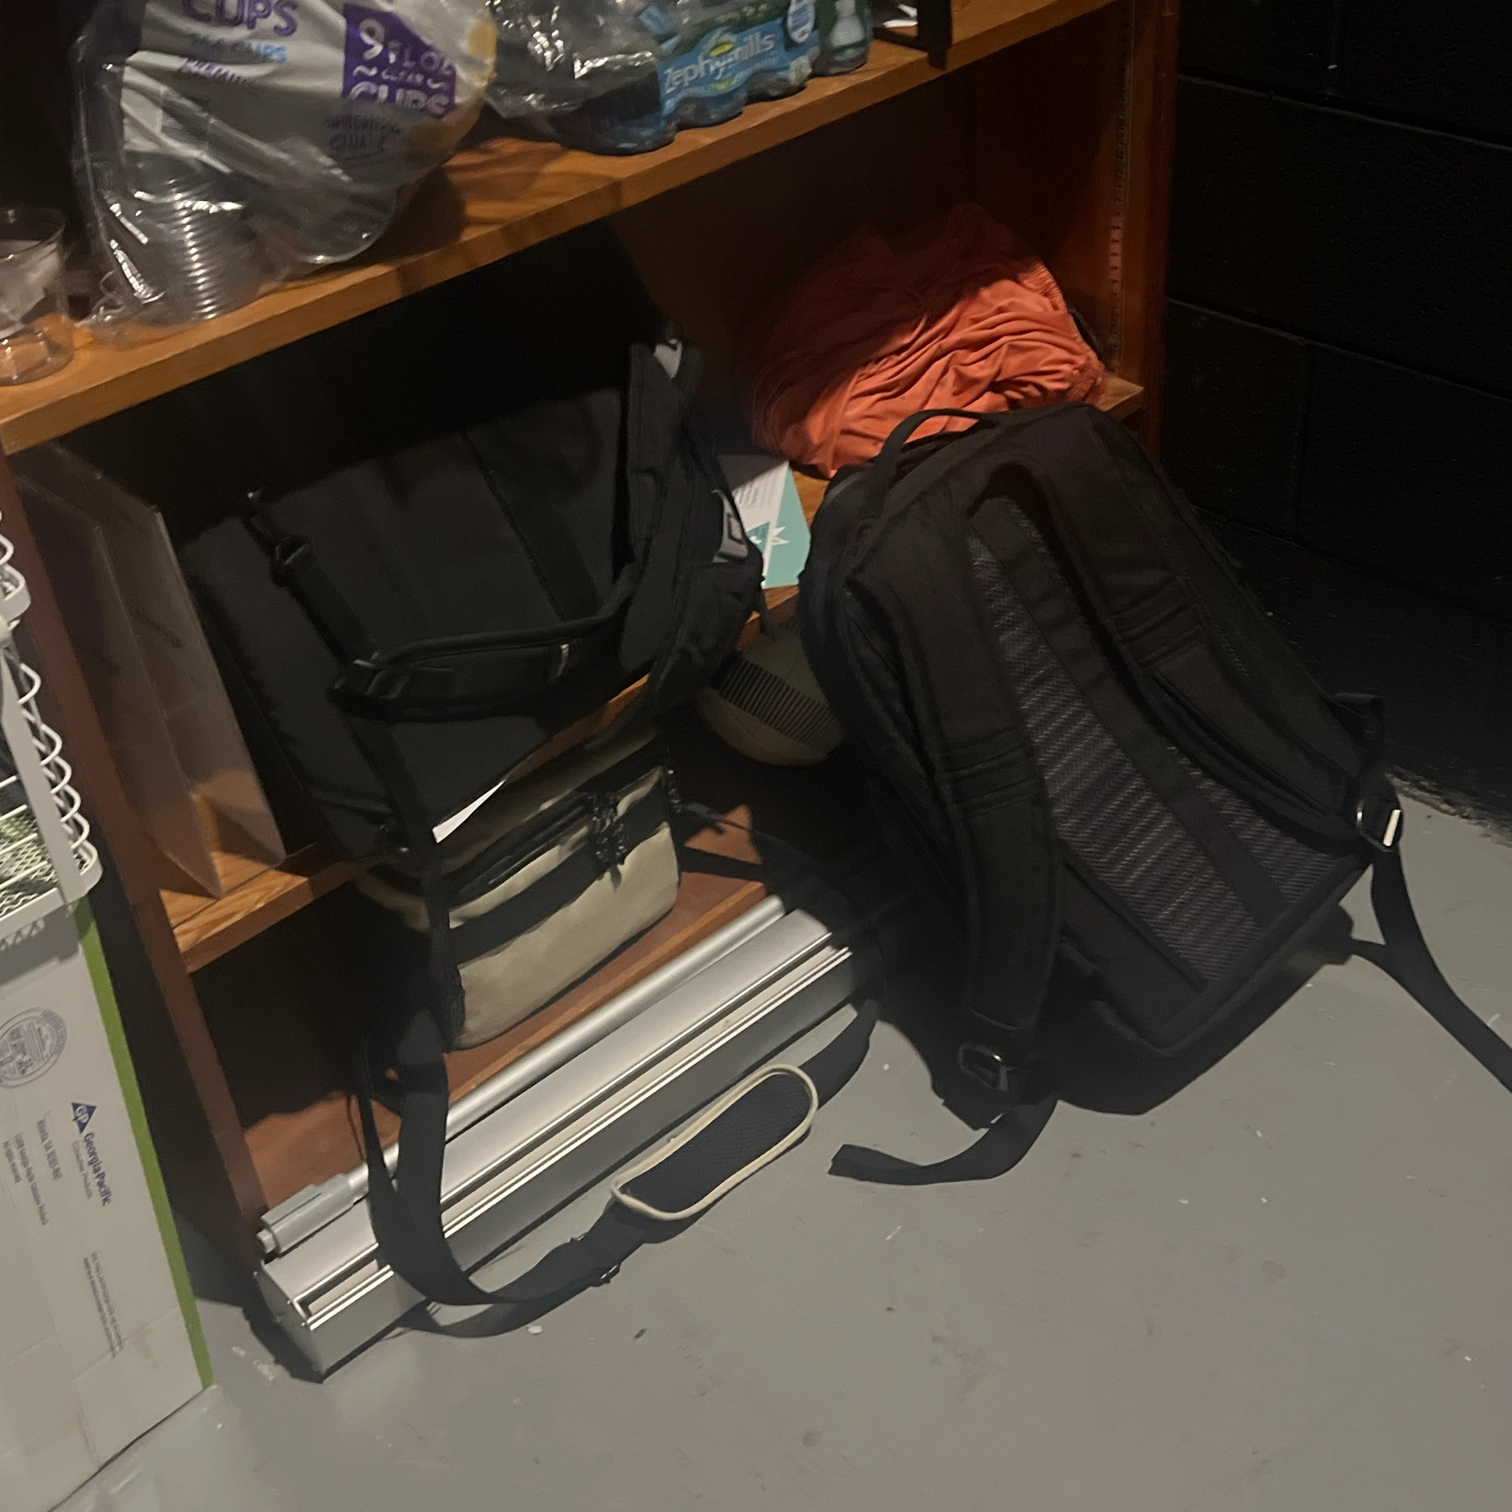
- Retrieve two black bags, the smaller tan camera bag, and the tripod.
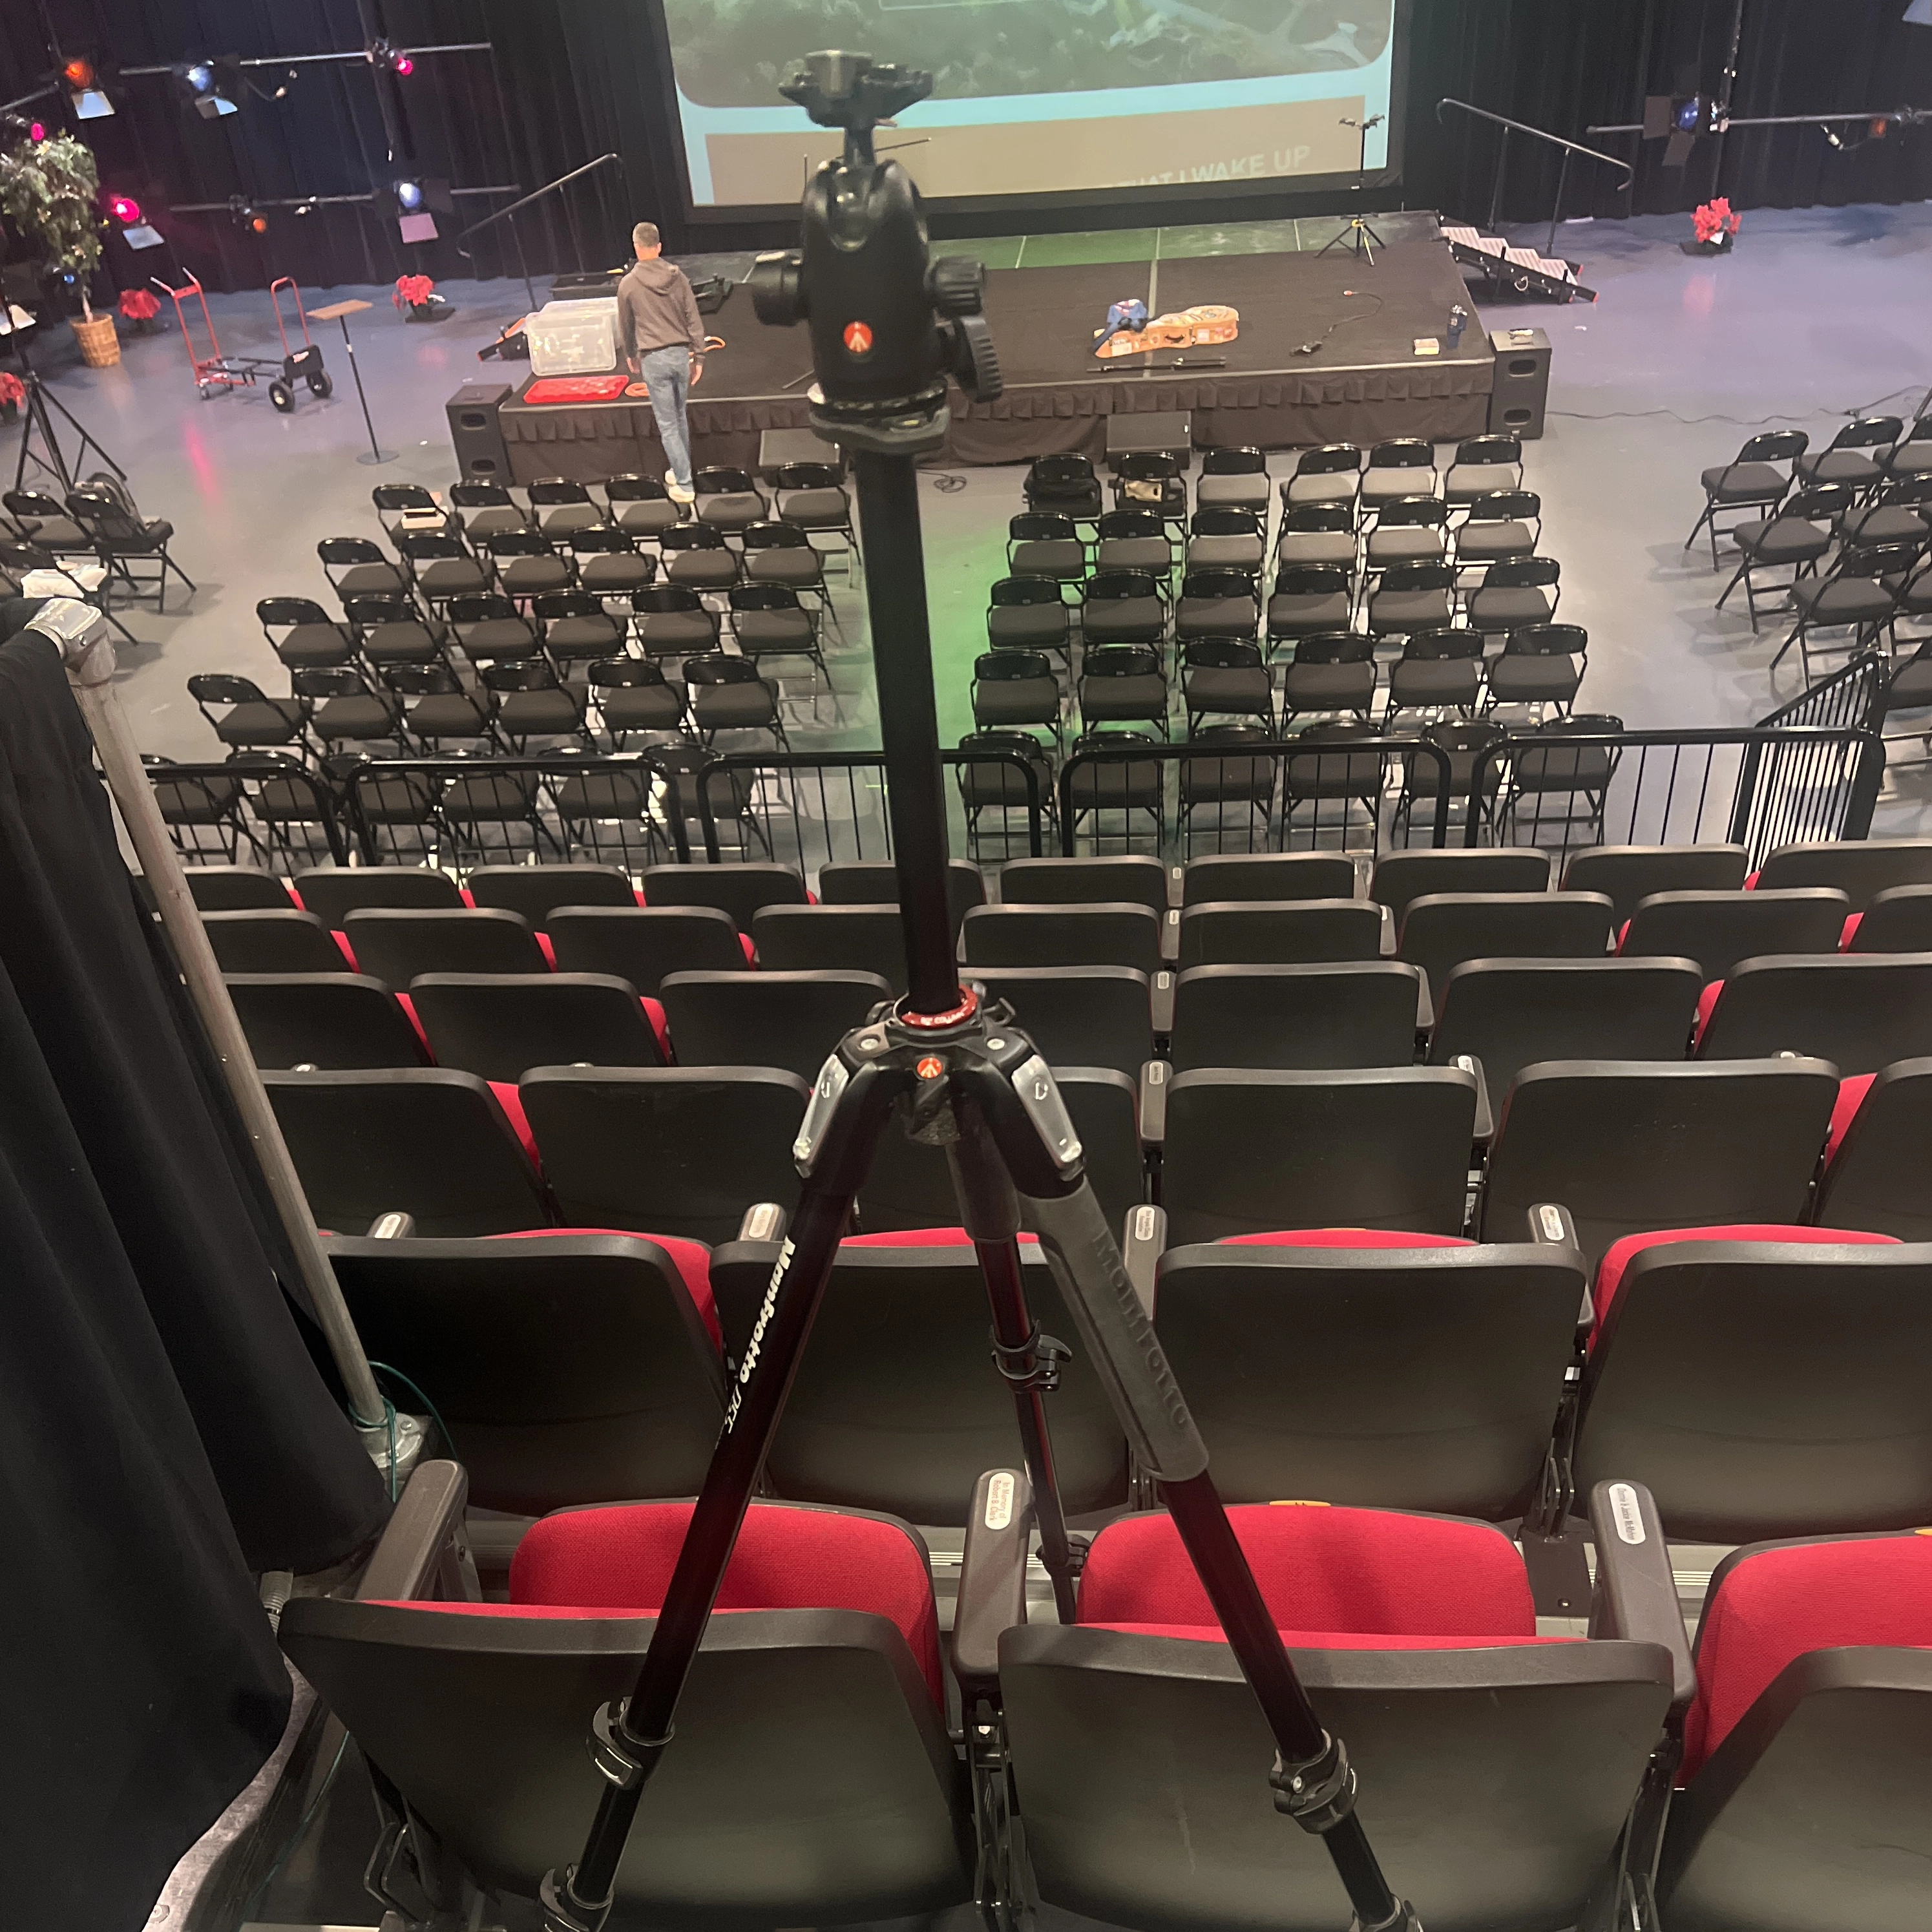
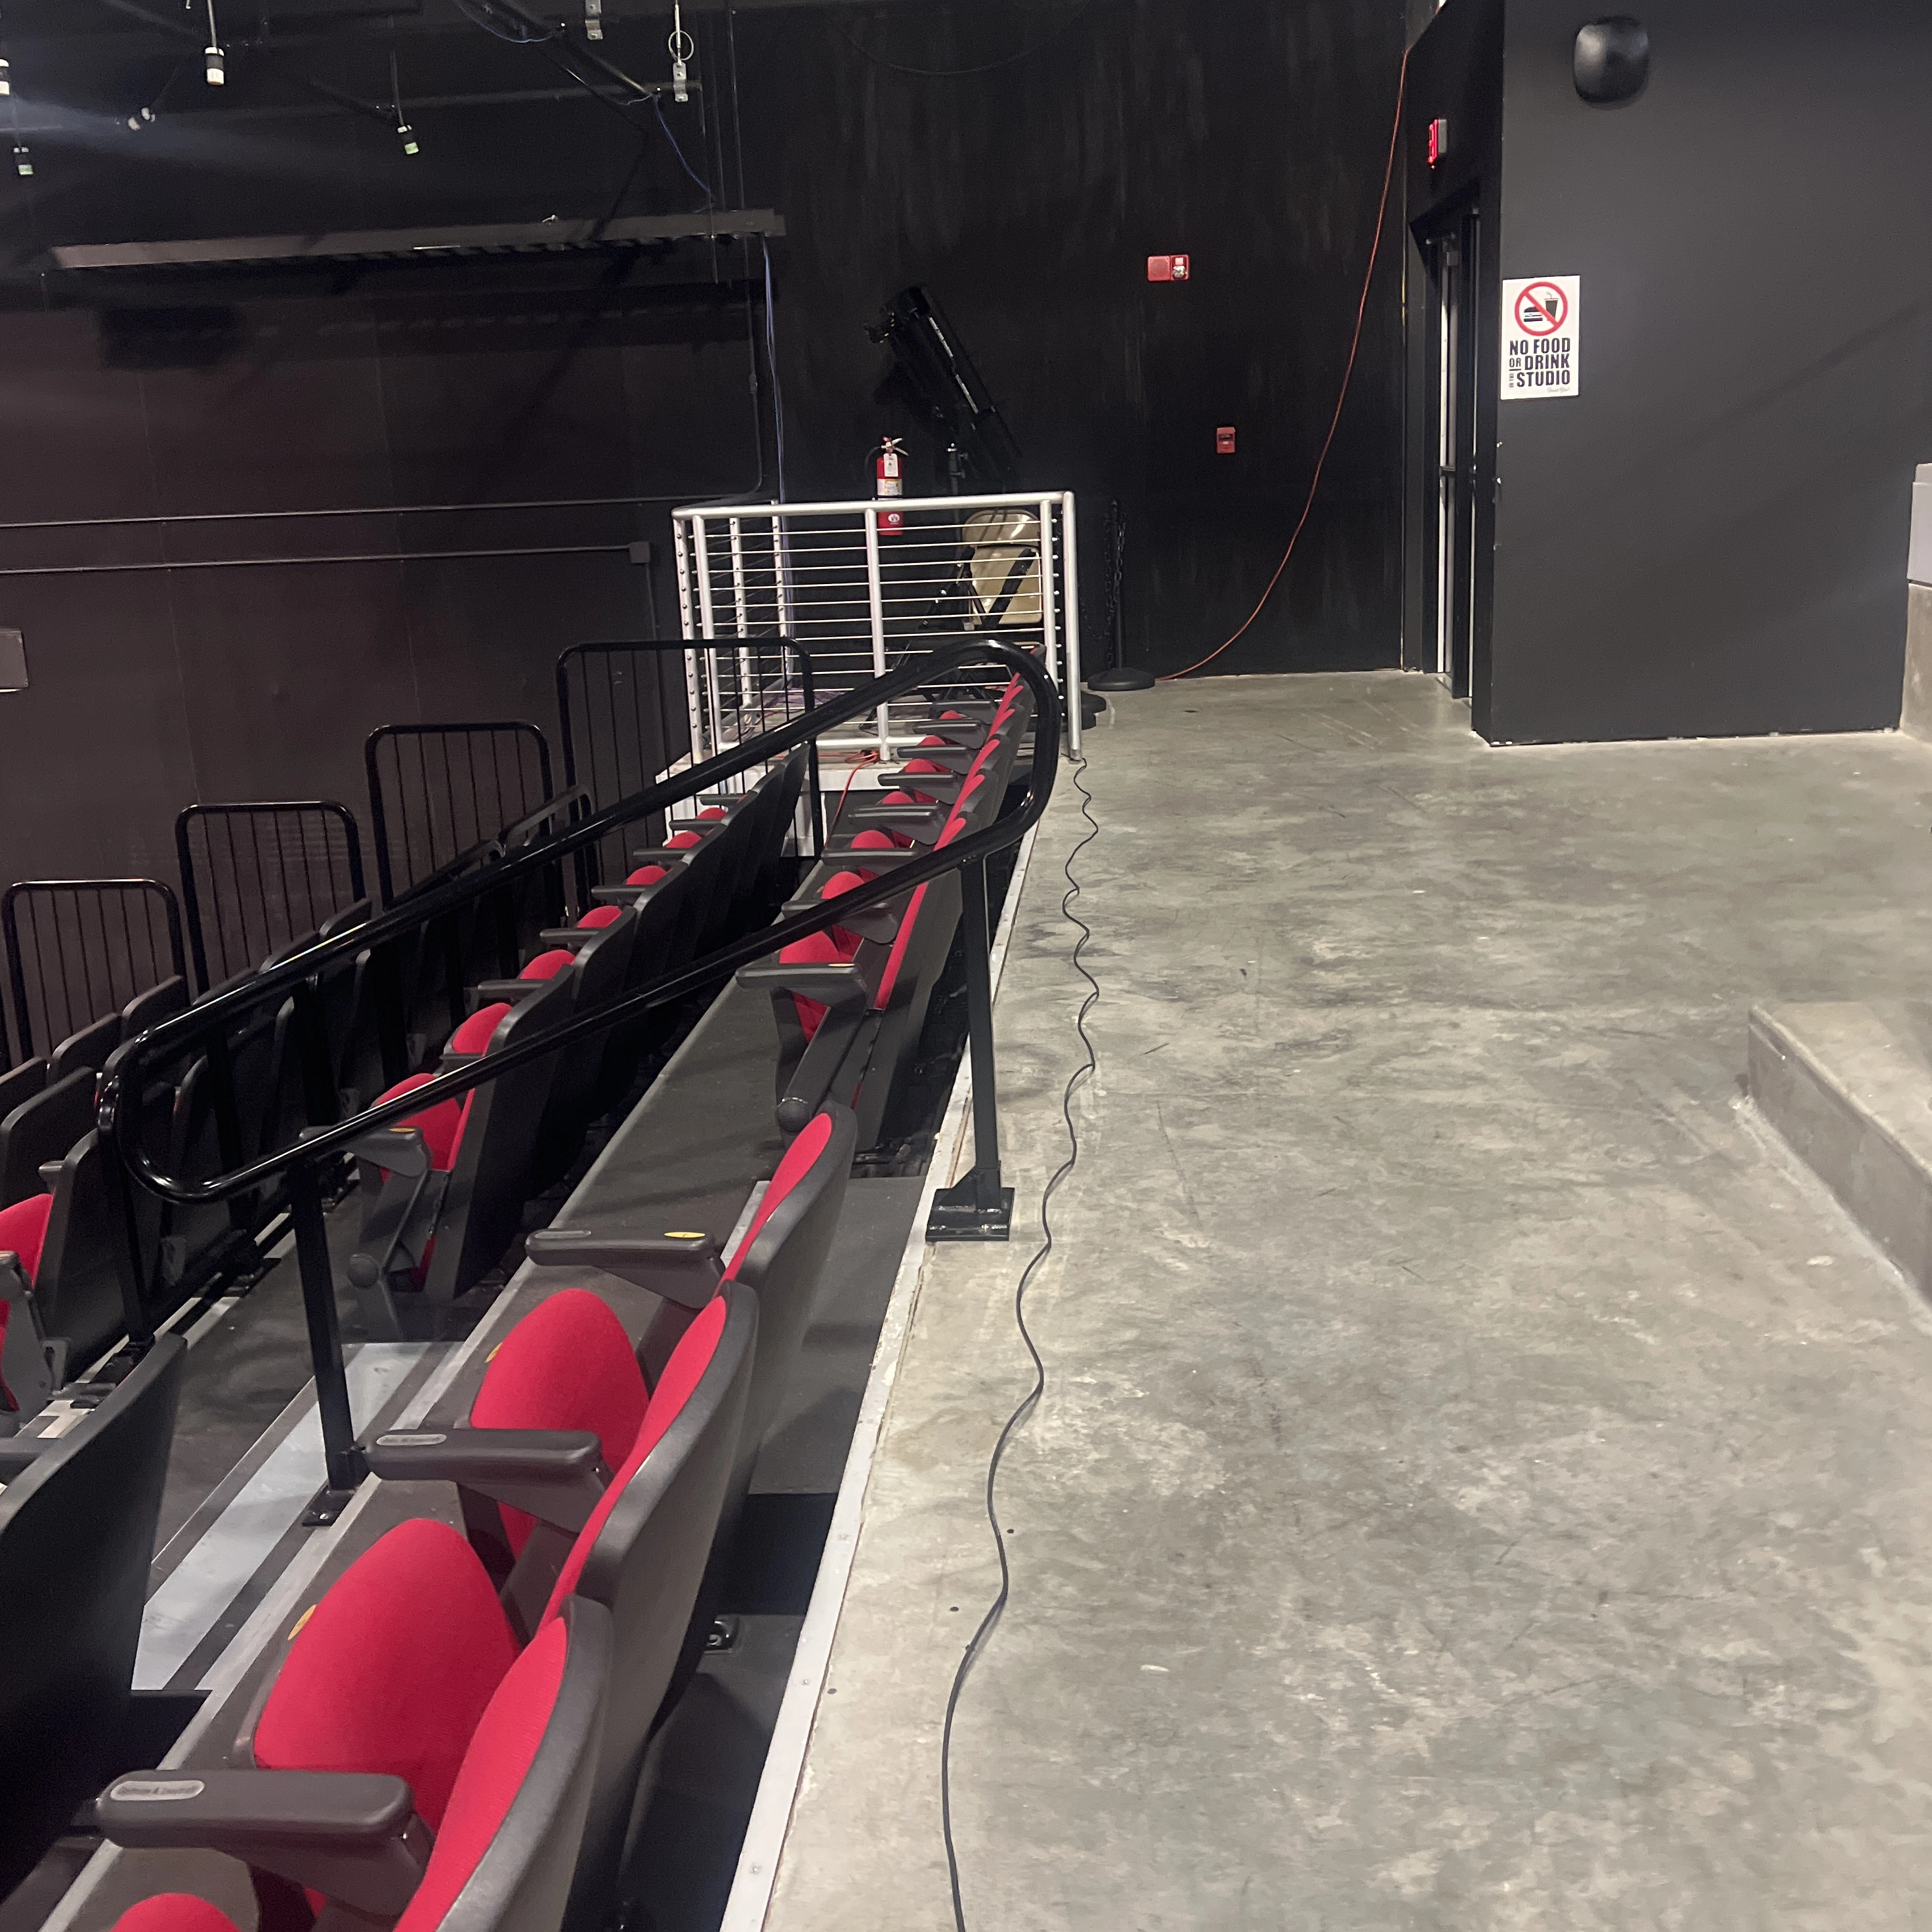
- Bring all bags to the sound booth (located at the 8th row of the stands).
2. Stage-Side Setup
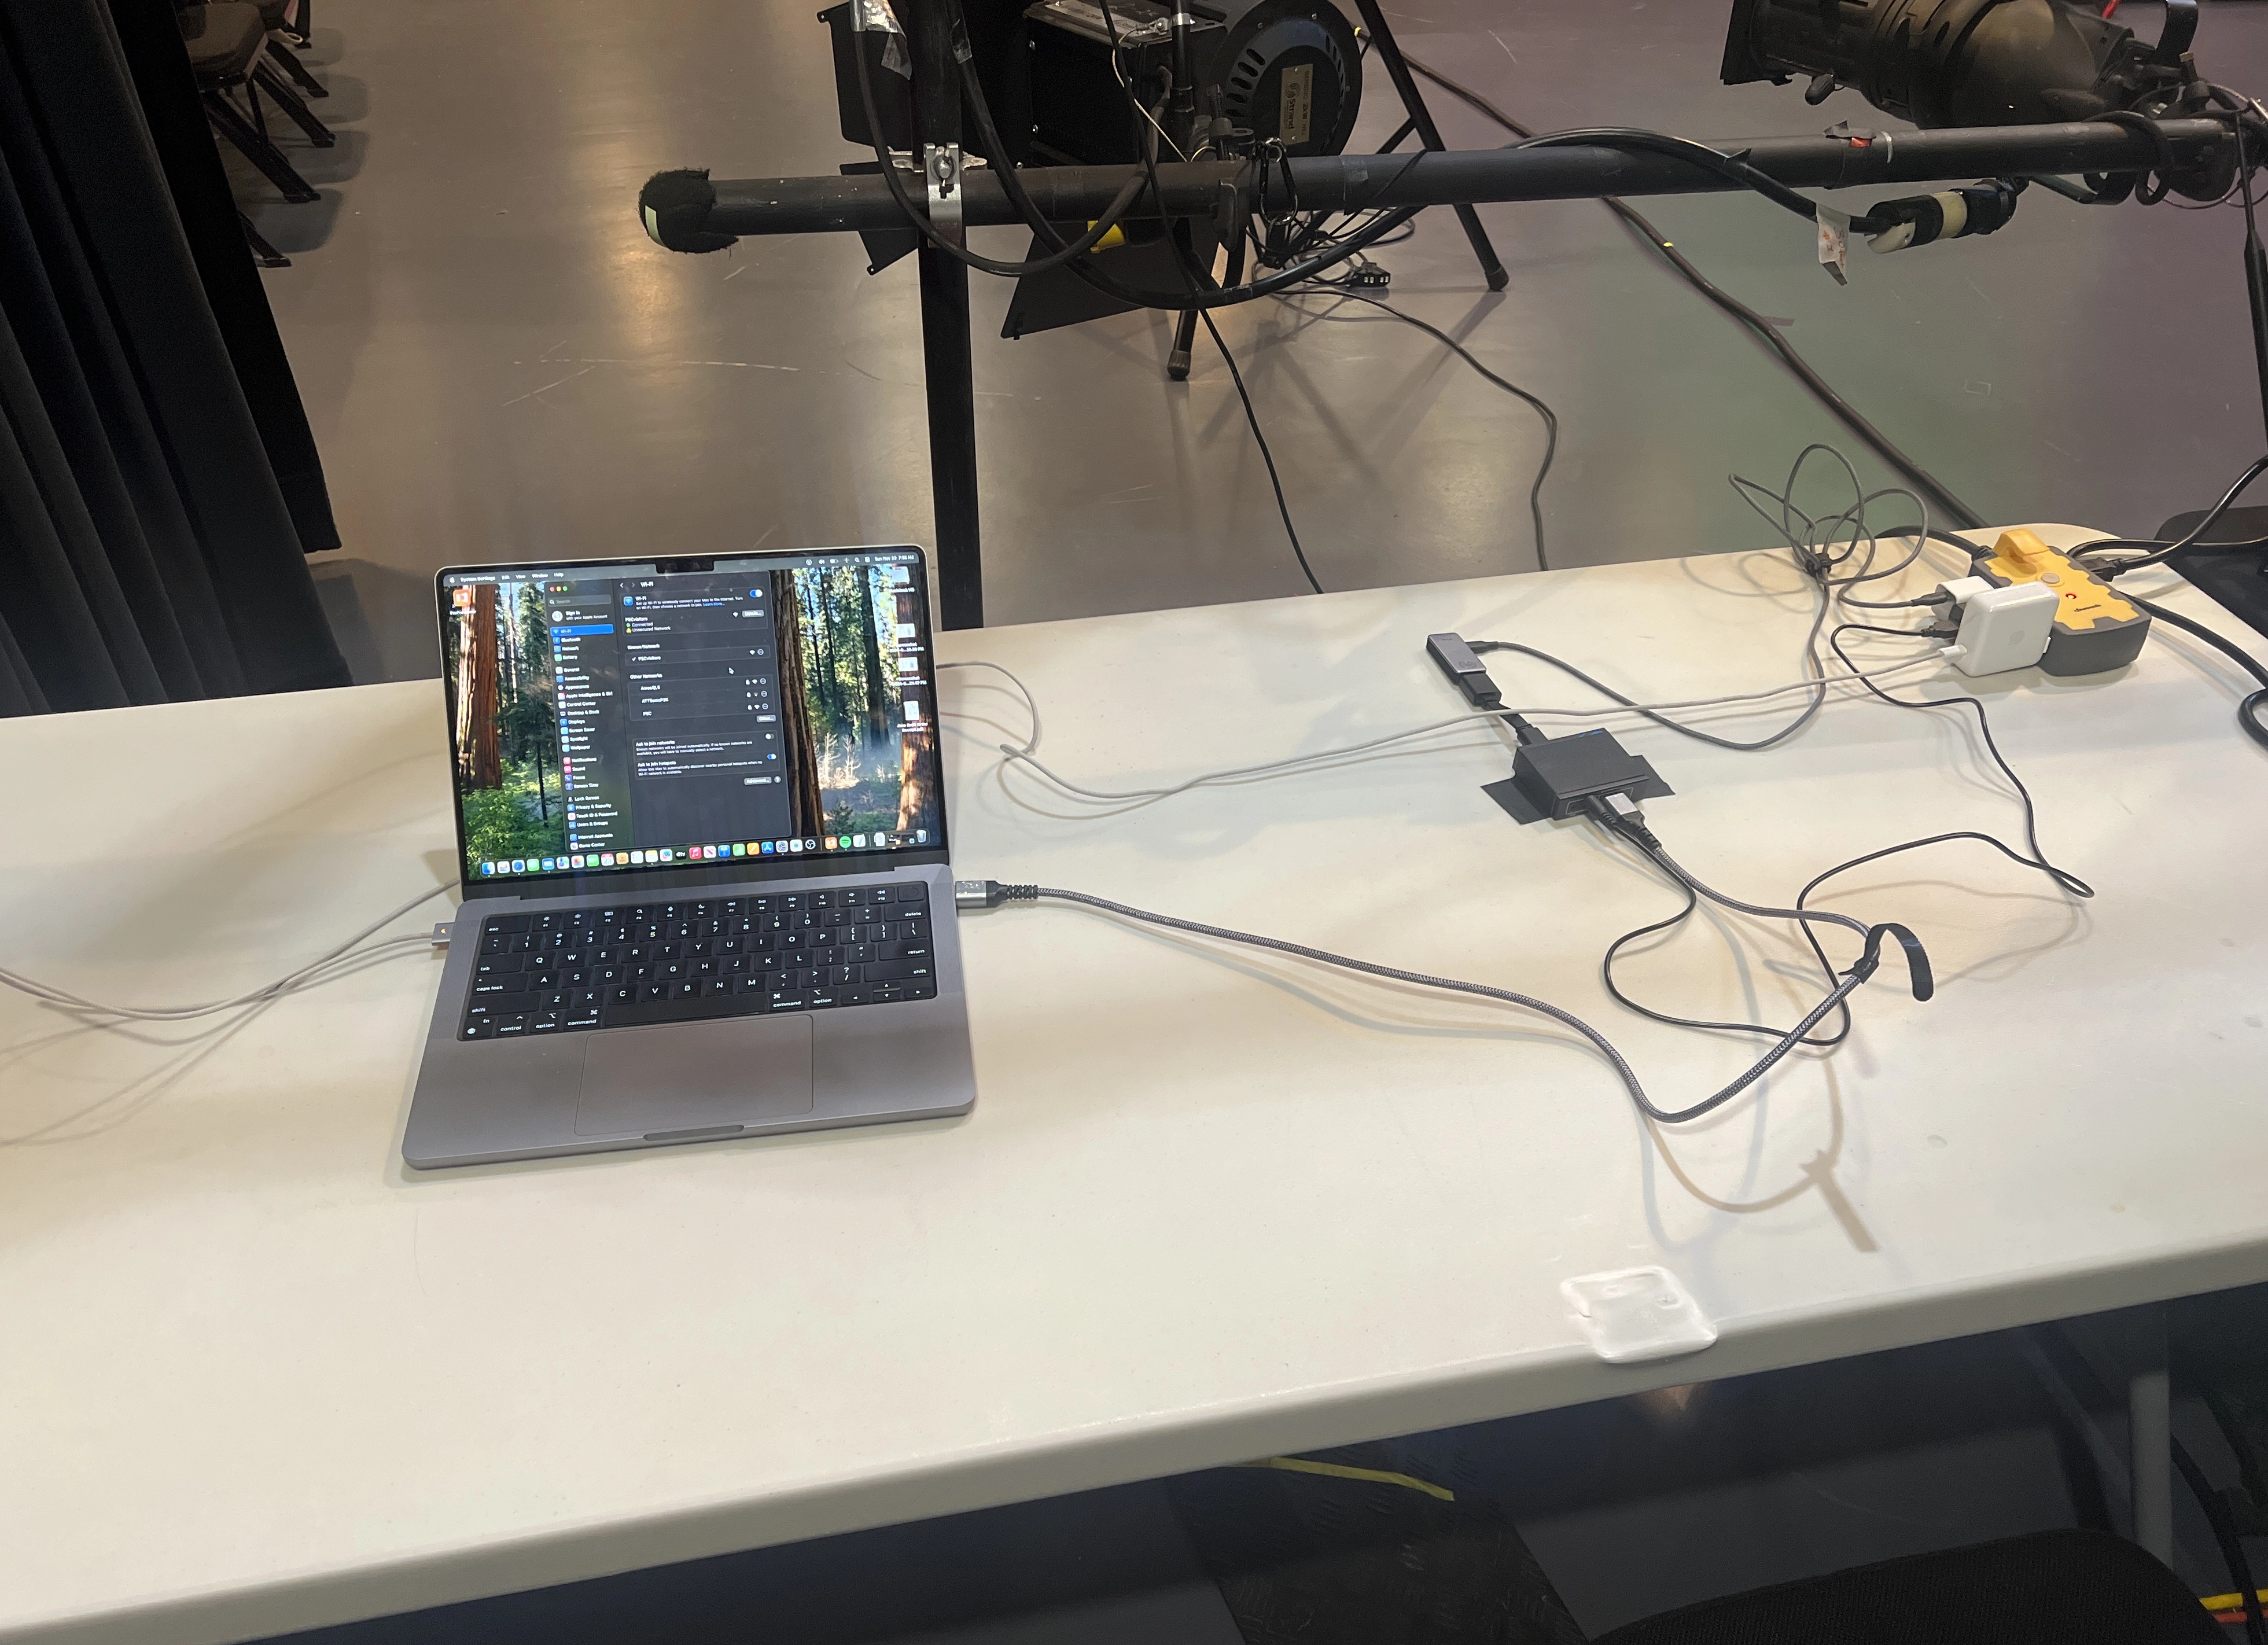
- To the right of the stage, behind the curtains, there will be a white table.
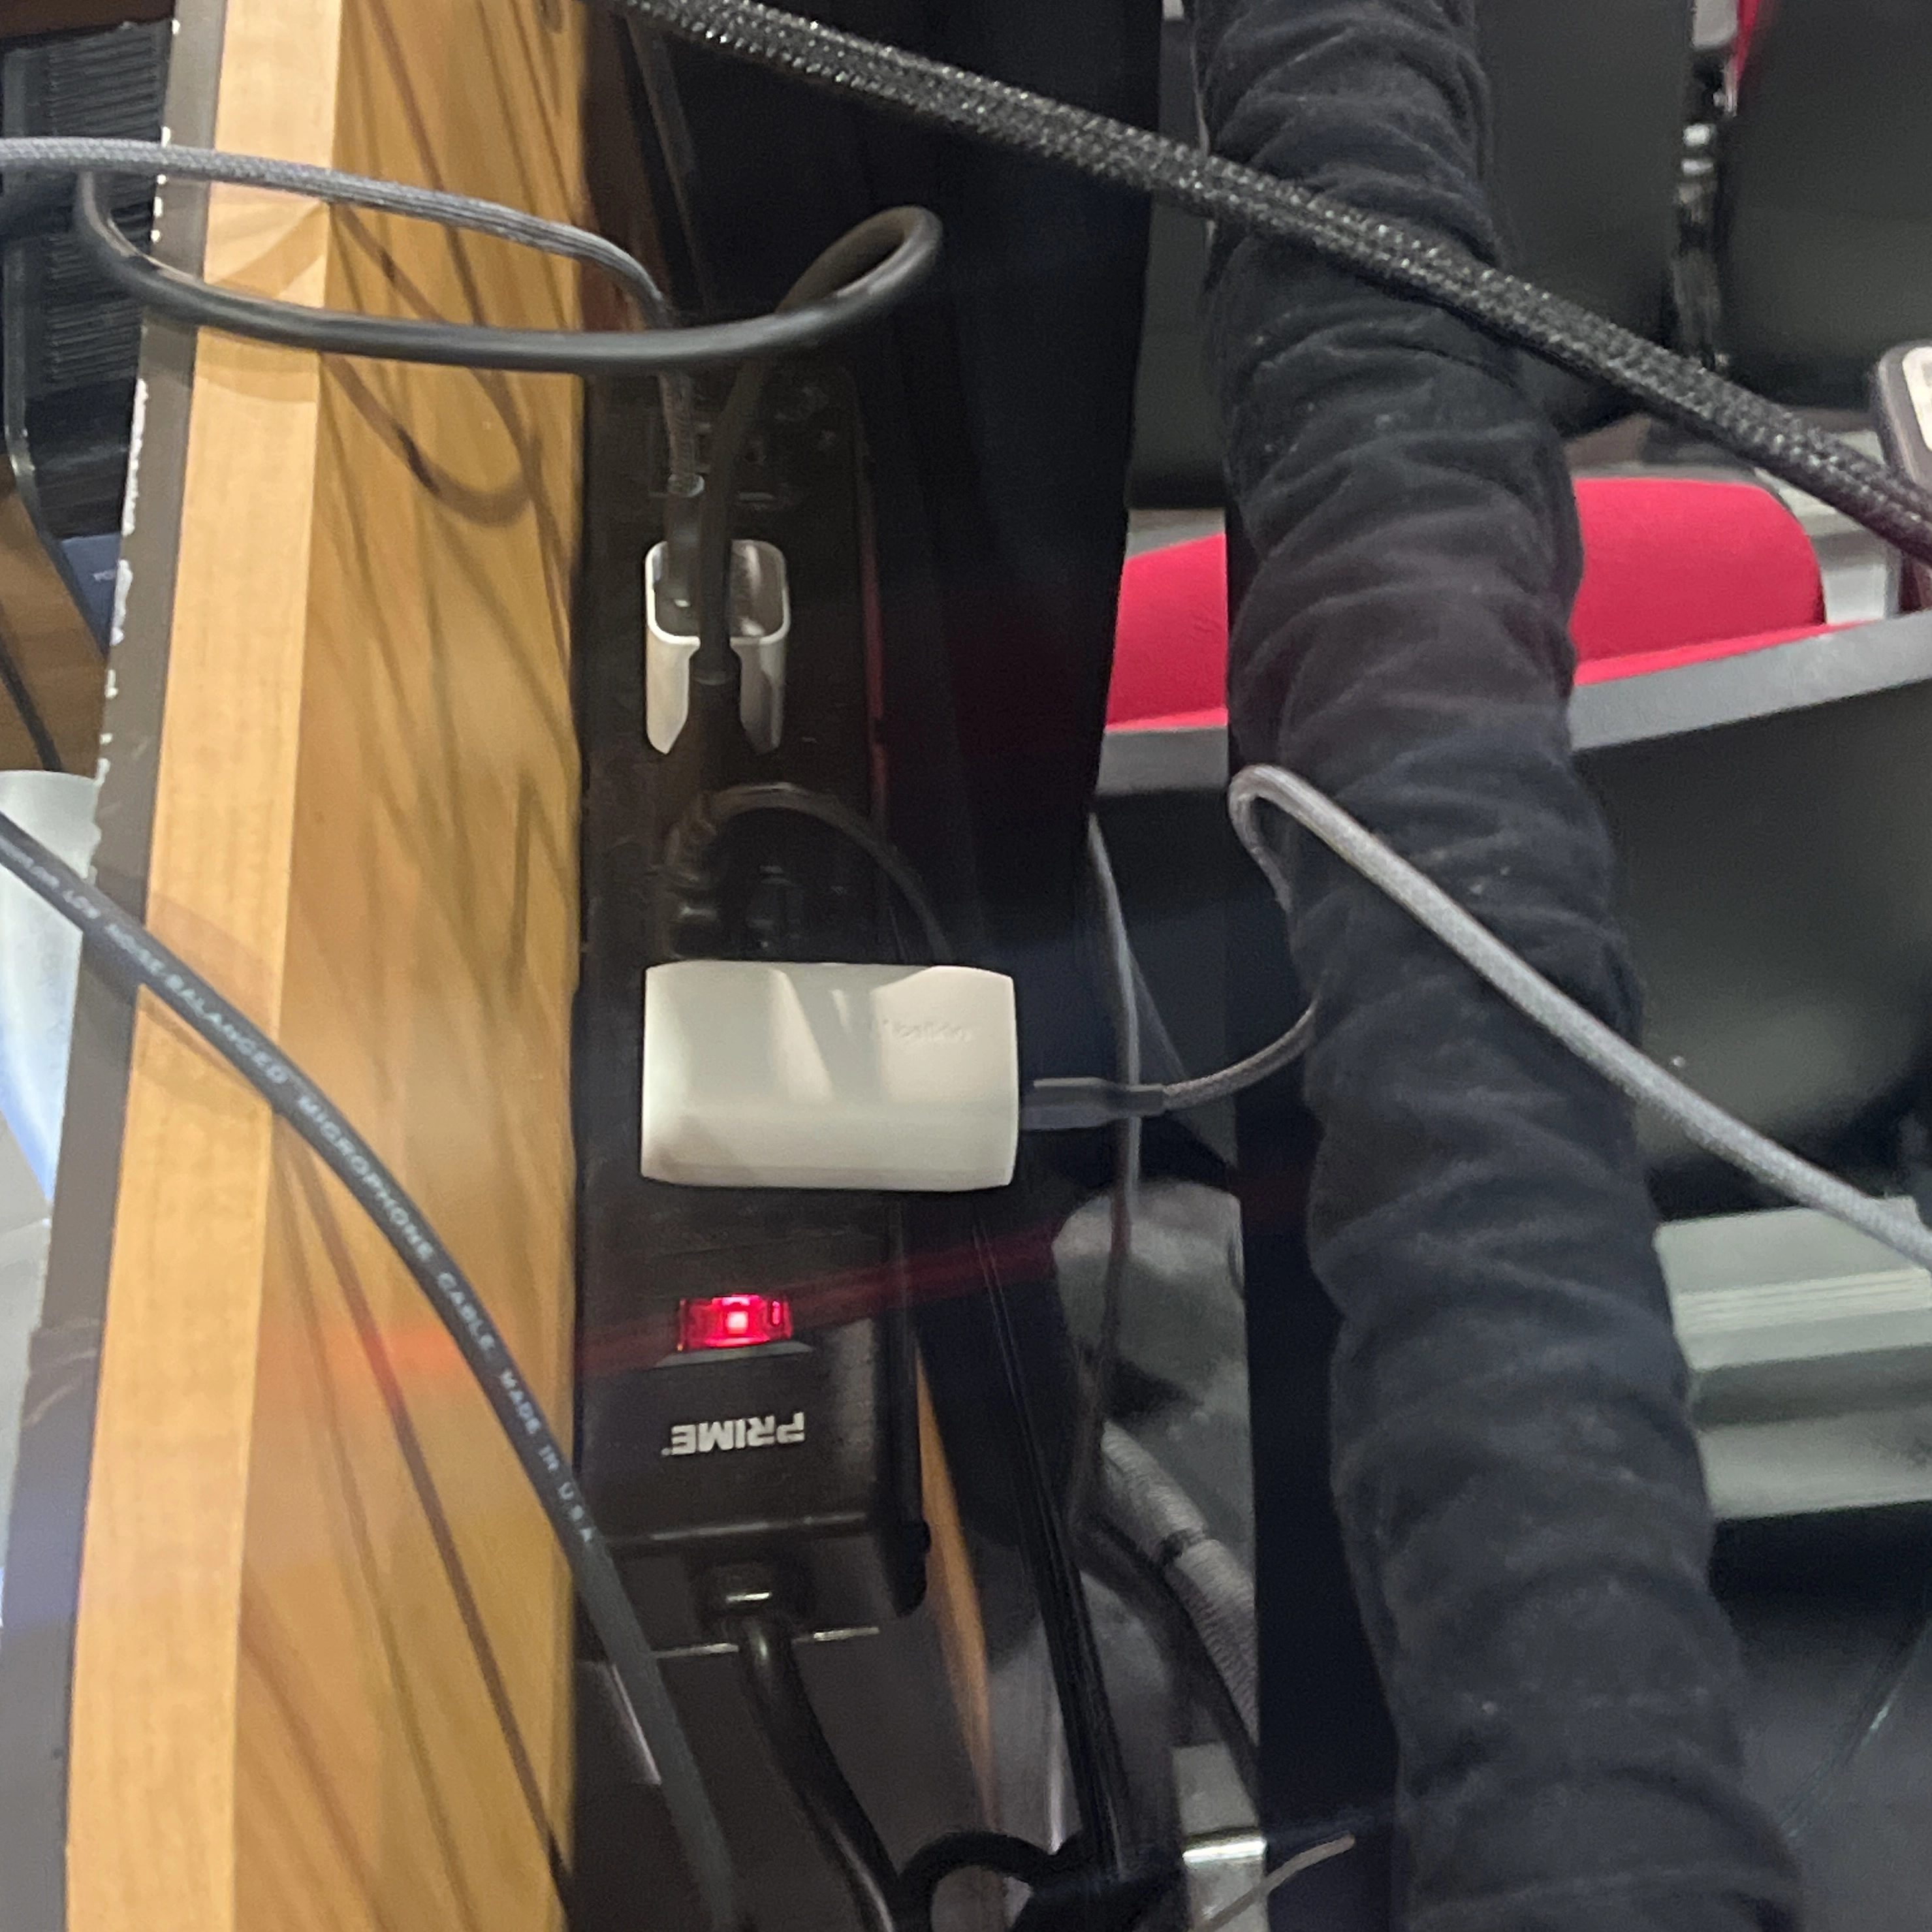
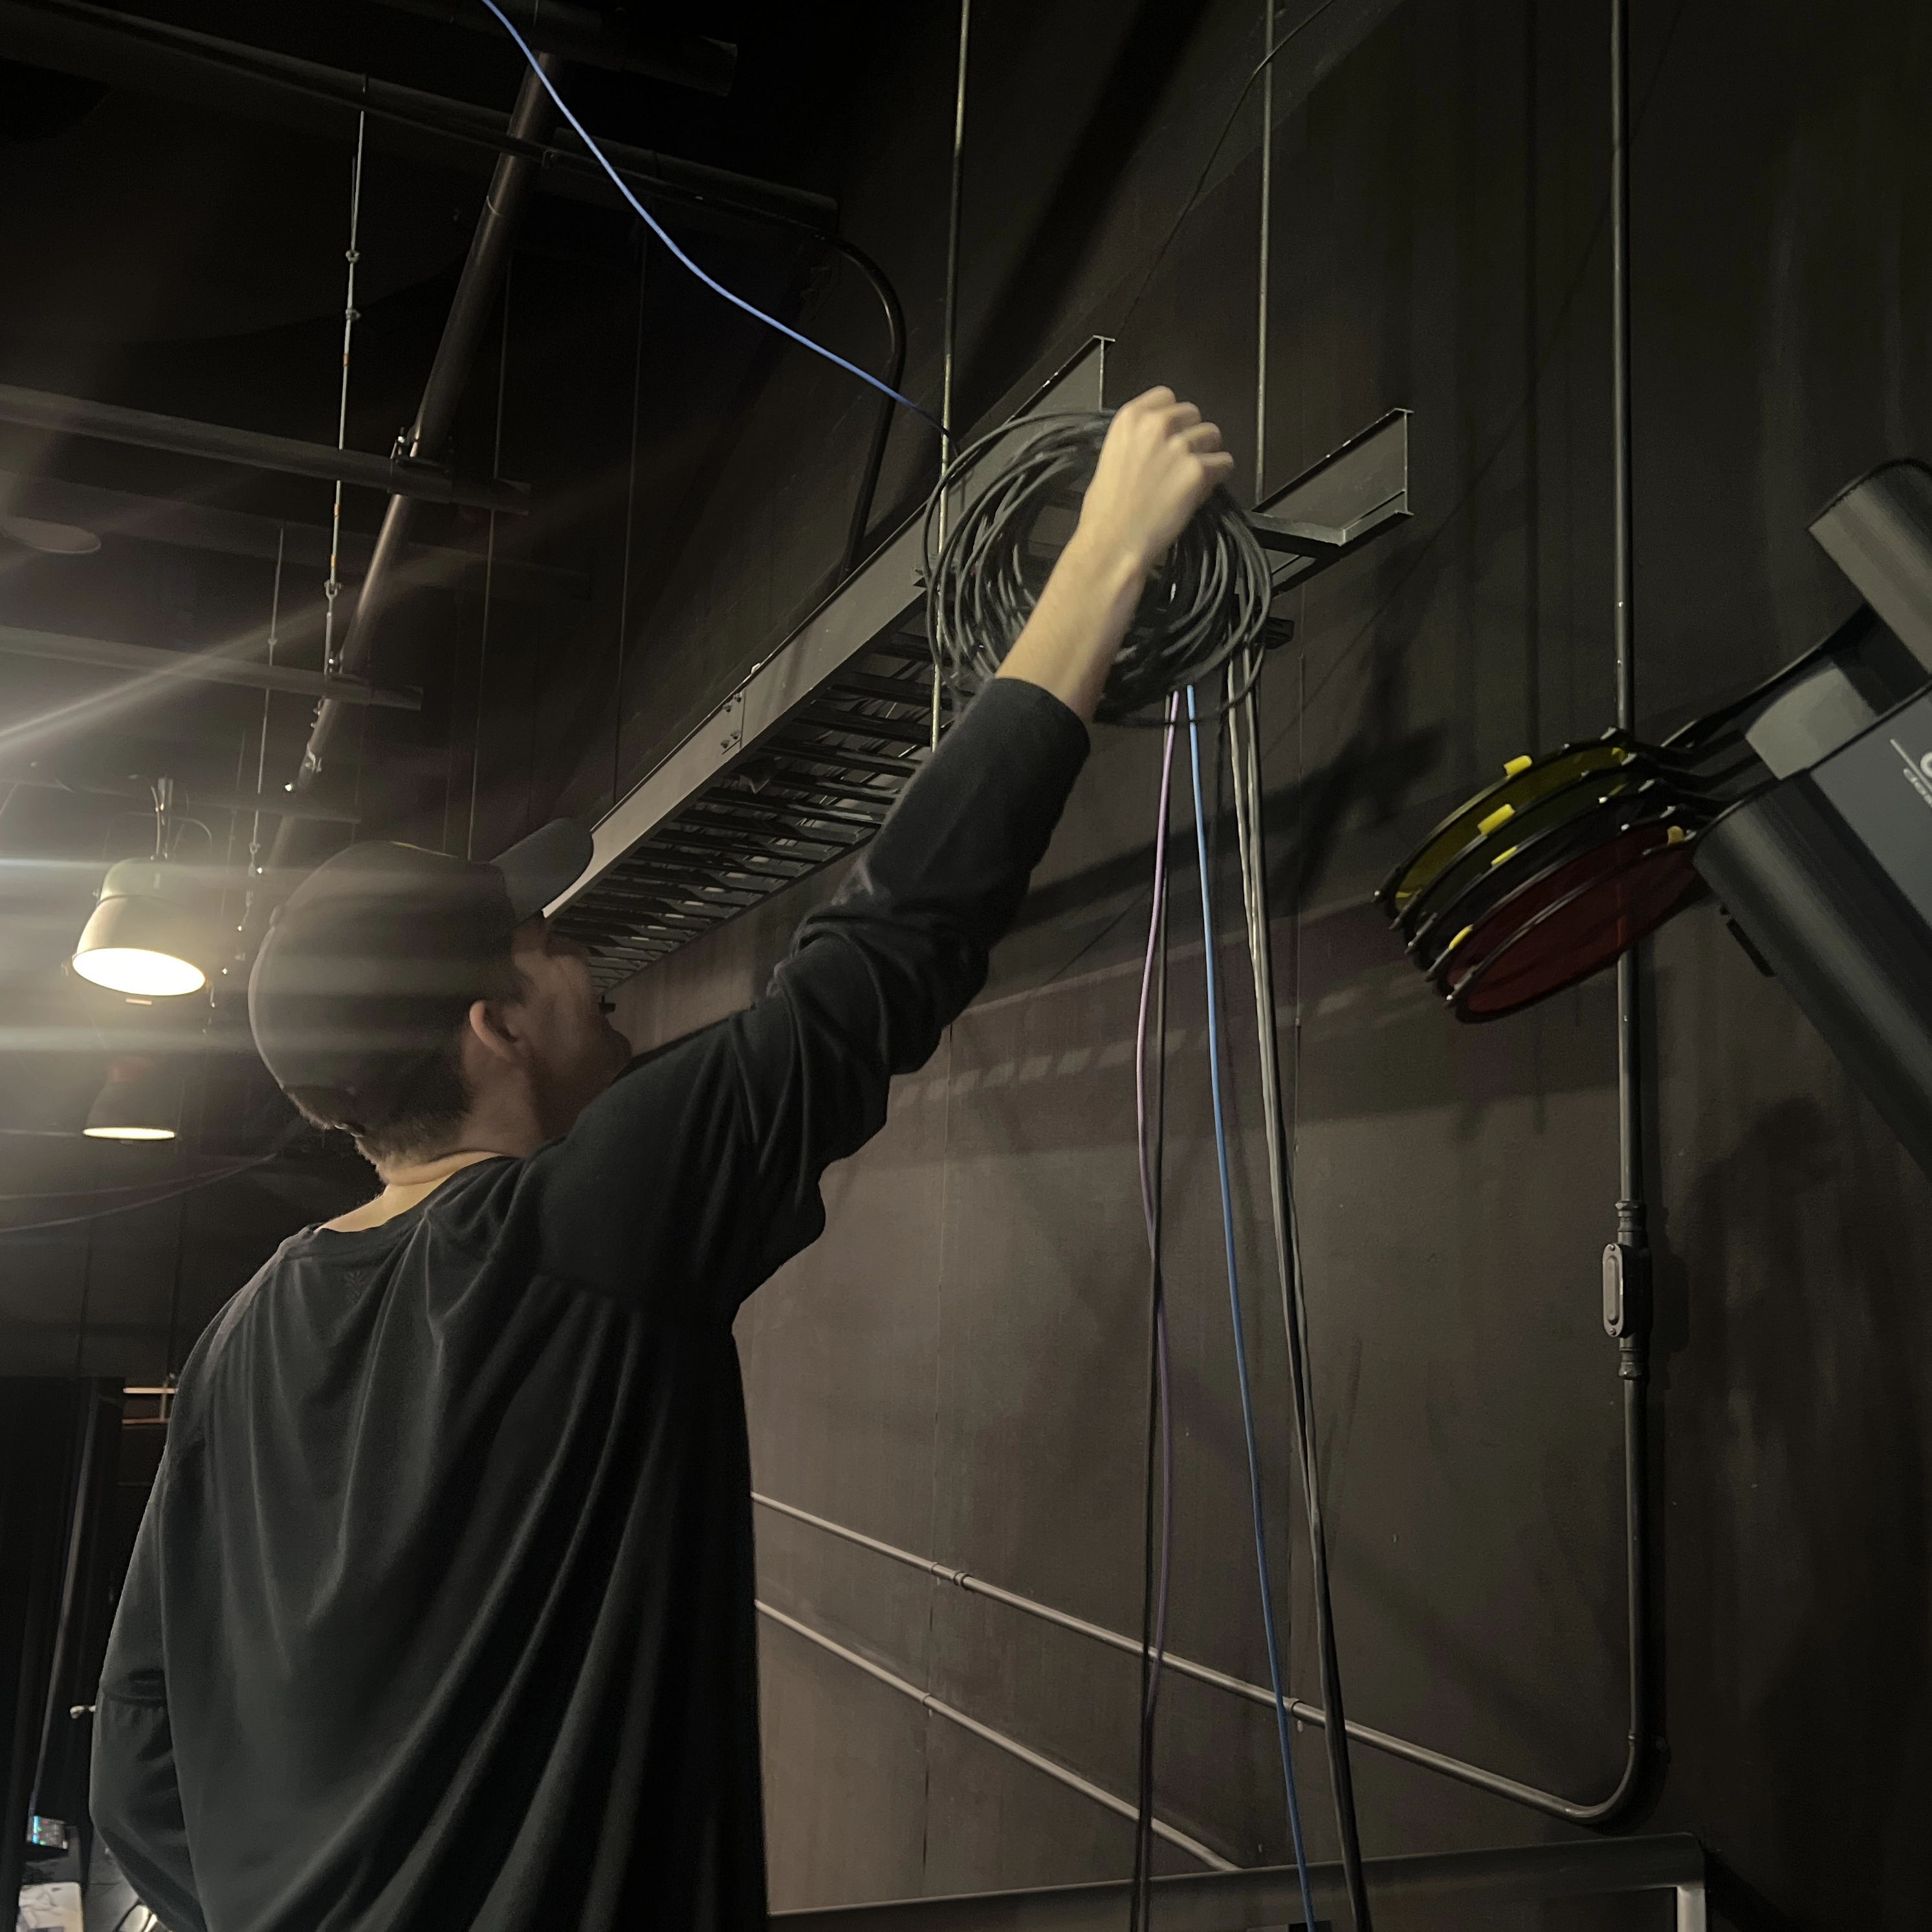
- Pull the yellow outlet from the cable bin.
- An HDMI cable will be located at the back right of the stage, behind the curtains, hanging on a hook.
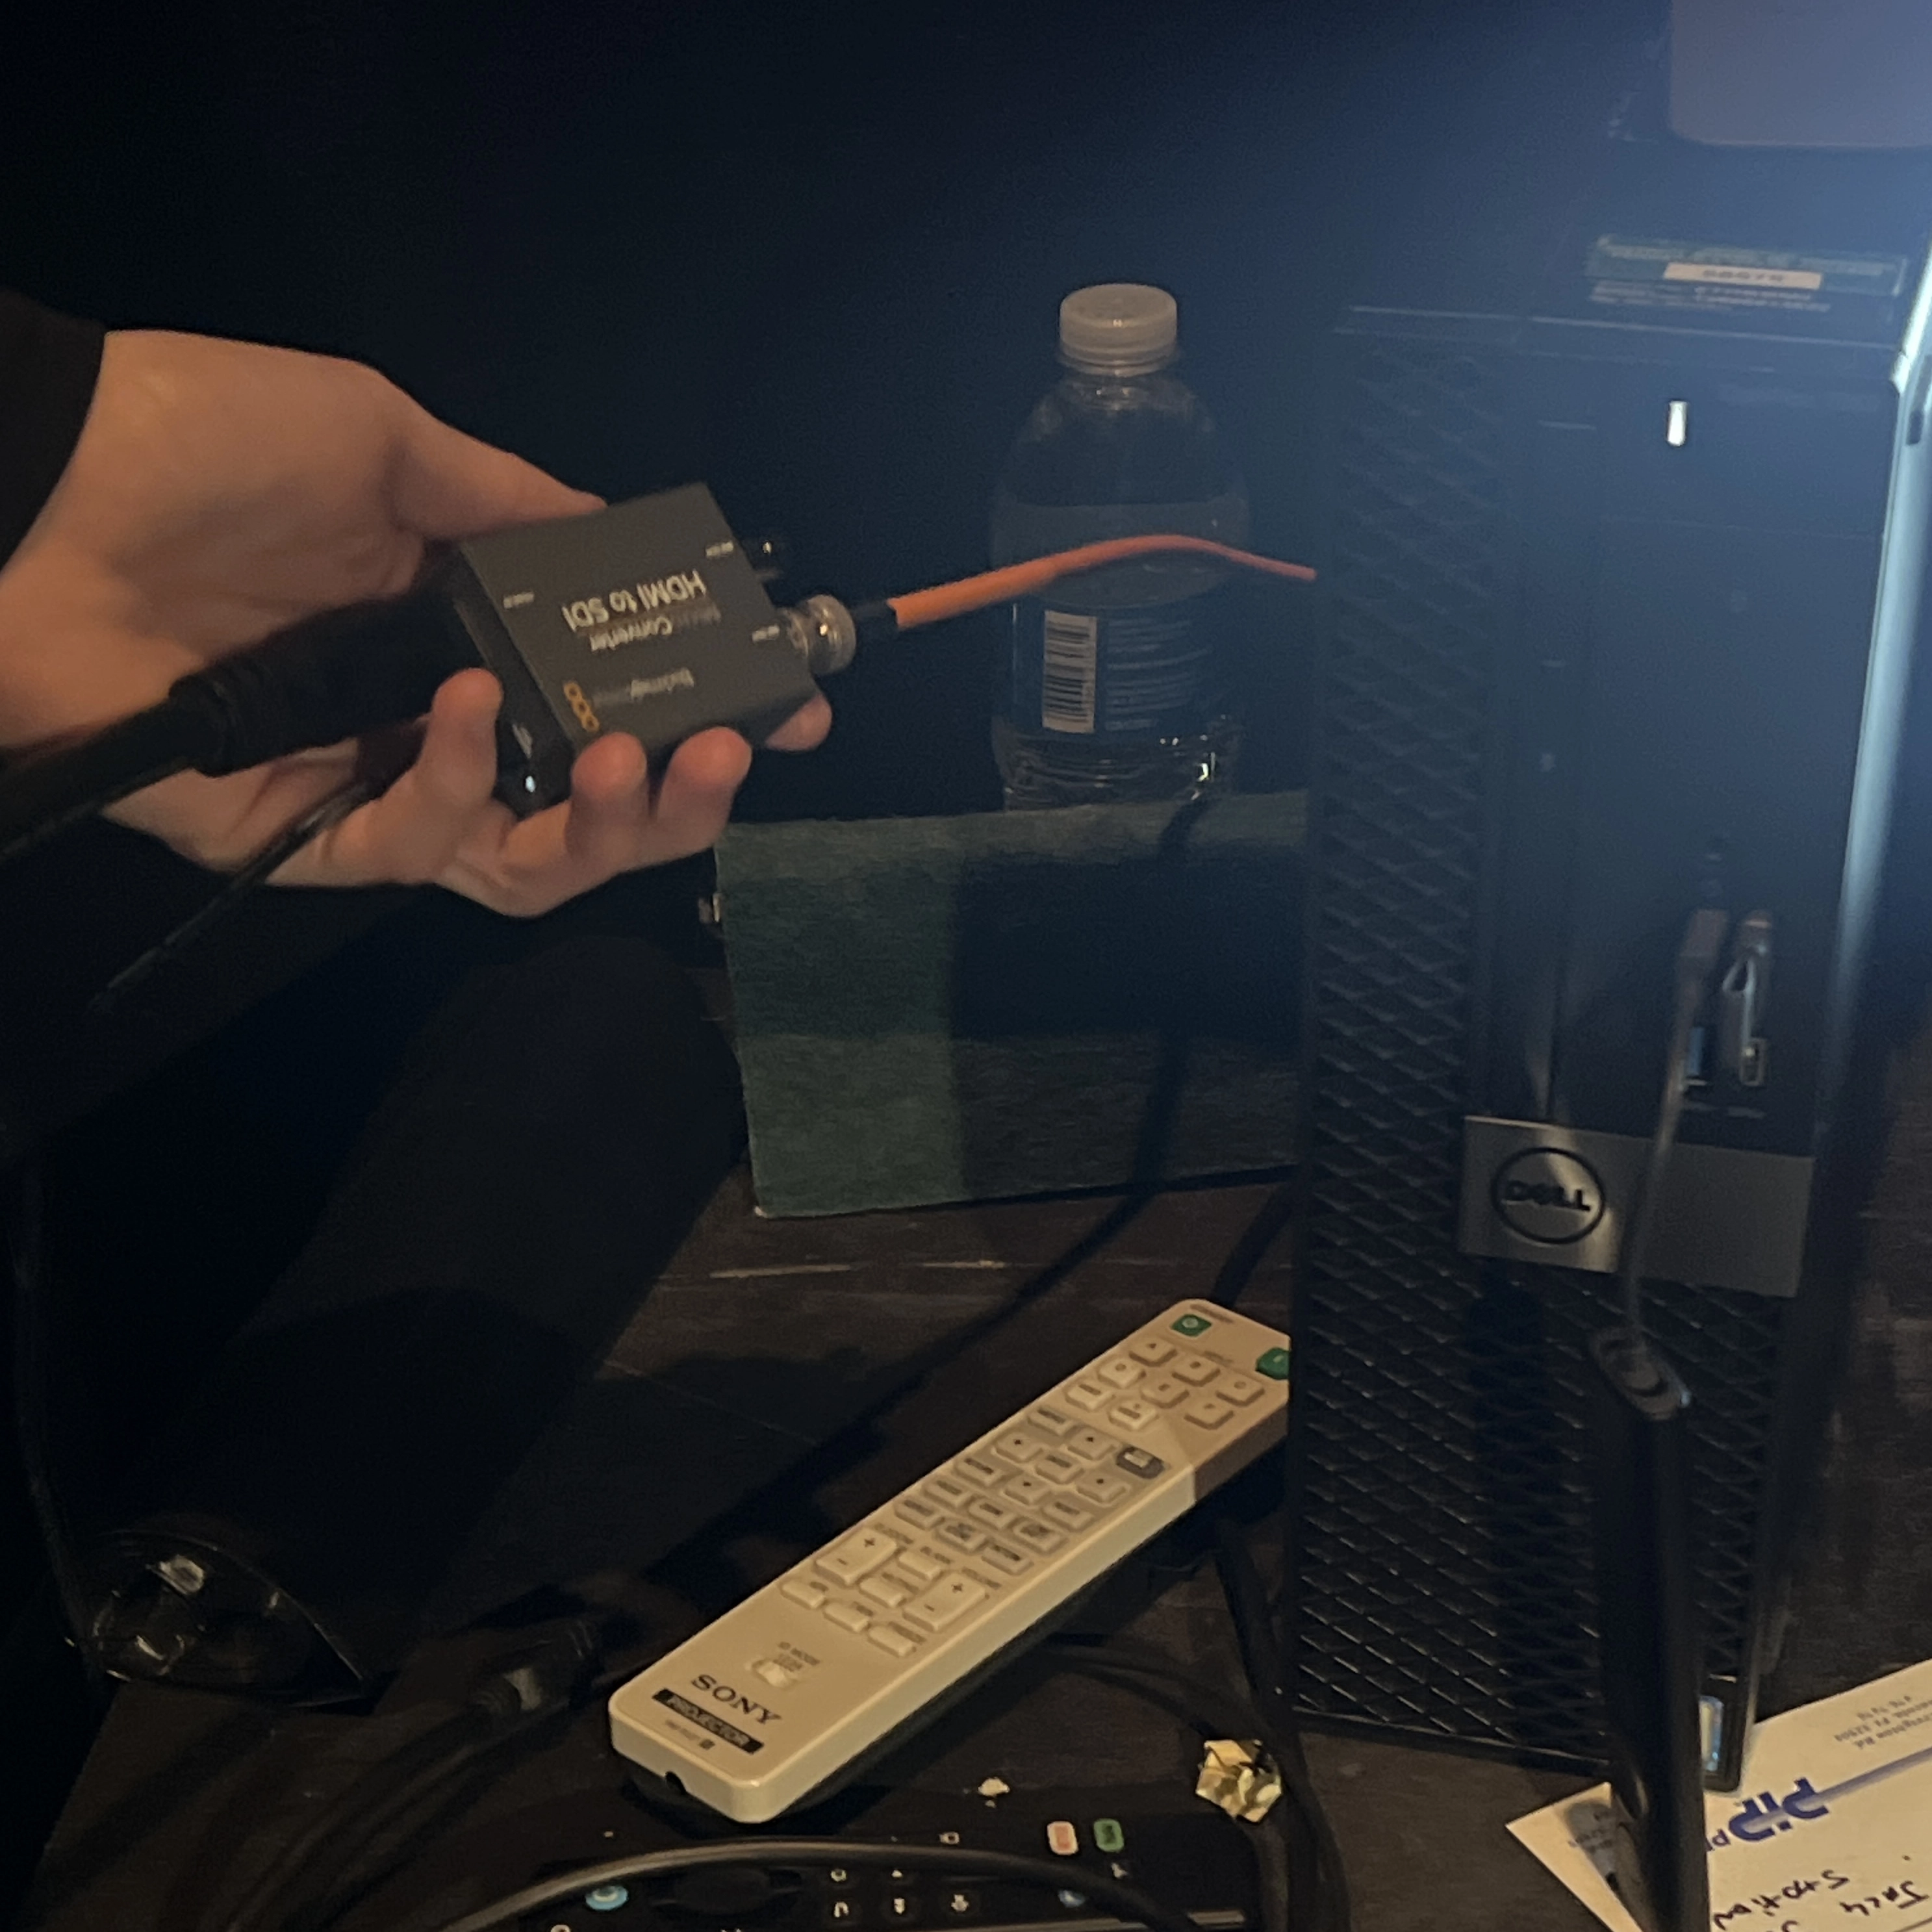
- Plug one end of this HDMI cable into the HDMI-to-SDI box next to the computer.
- Run the other end to the black box pictured in the instructions.
- Add tape to secure all cable runs.
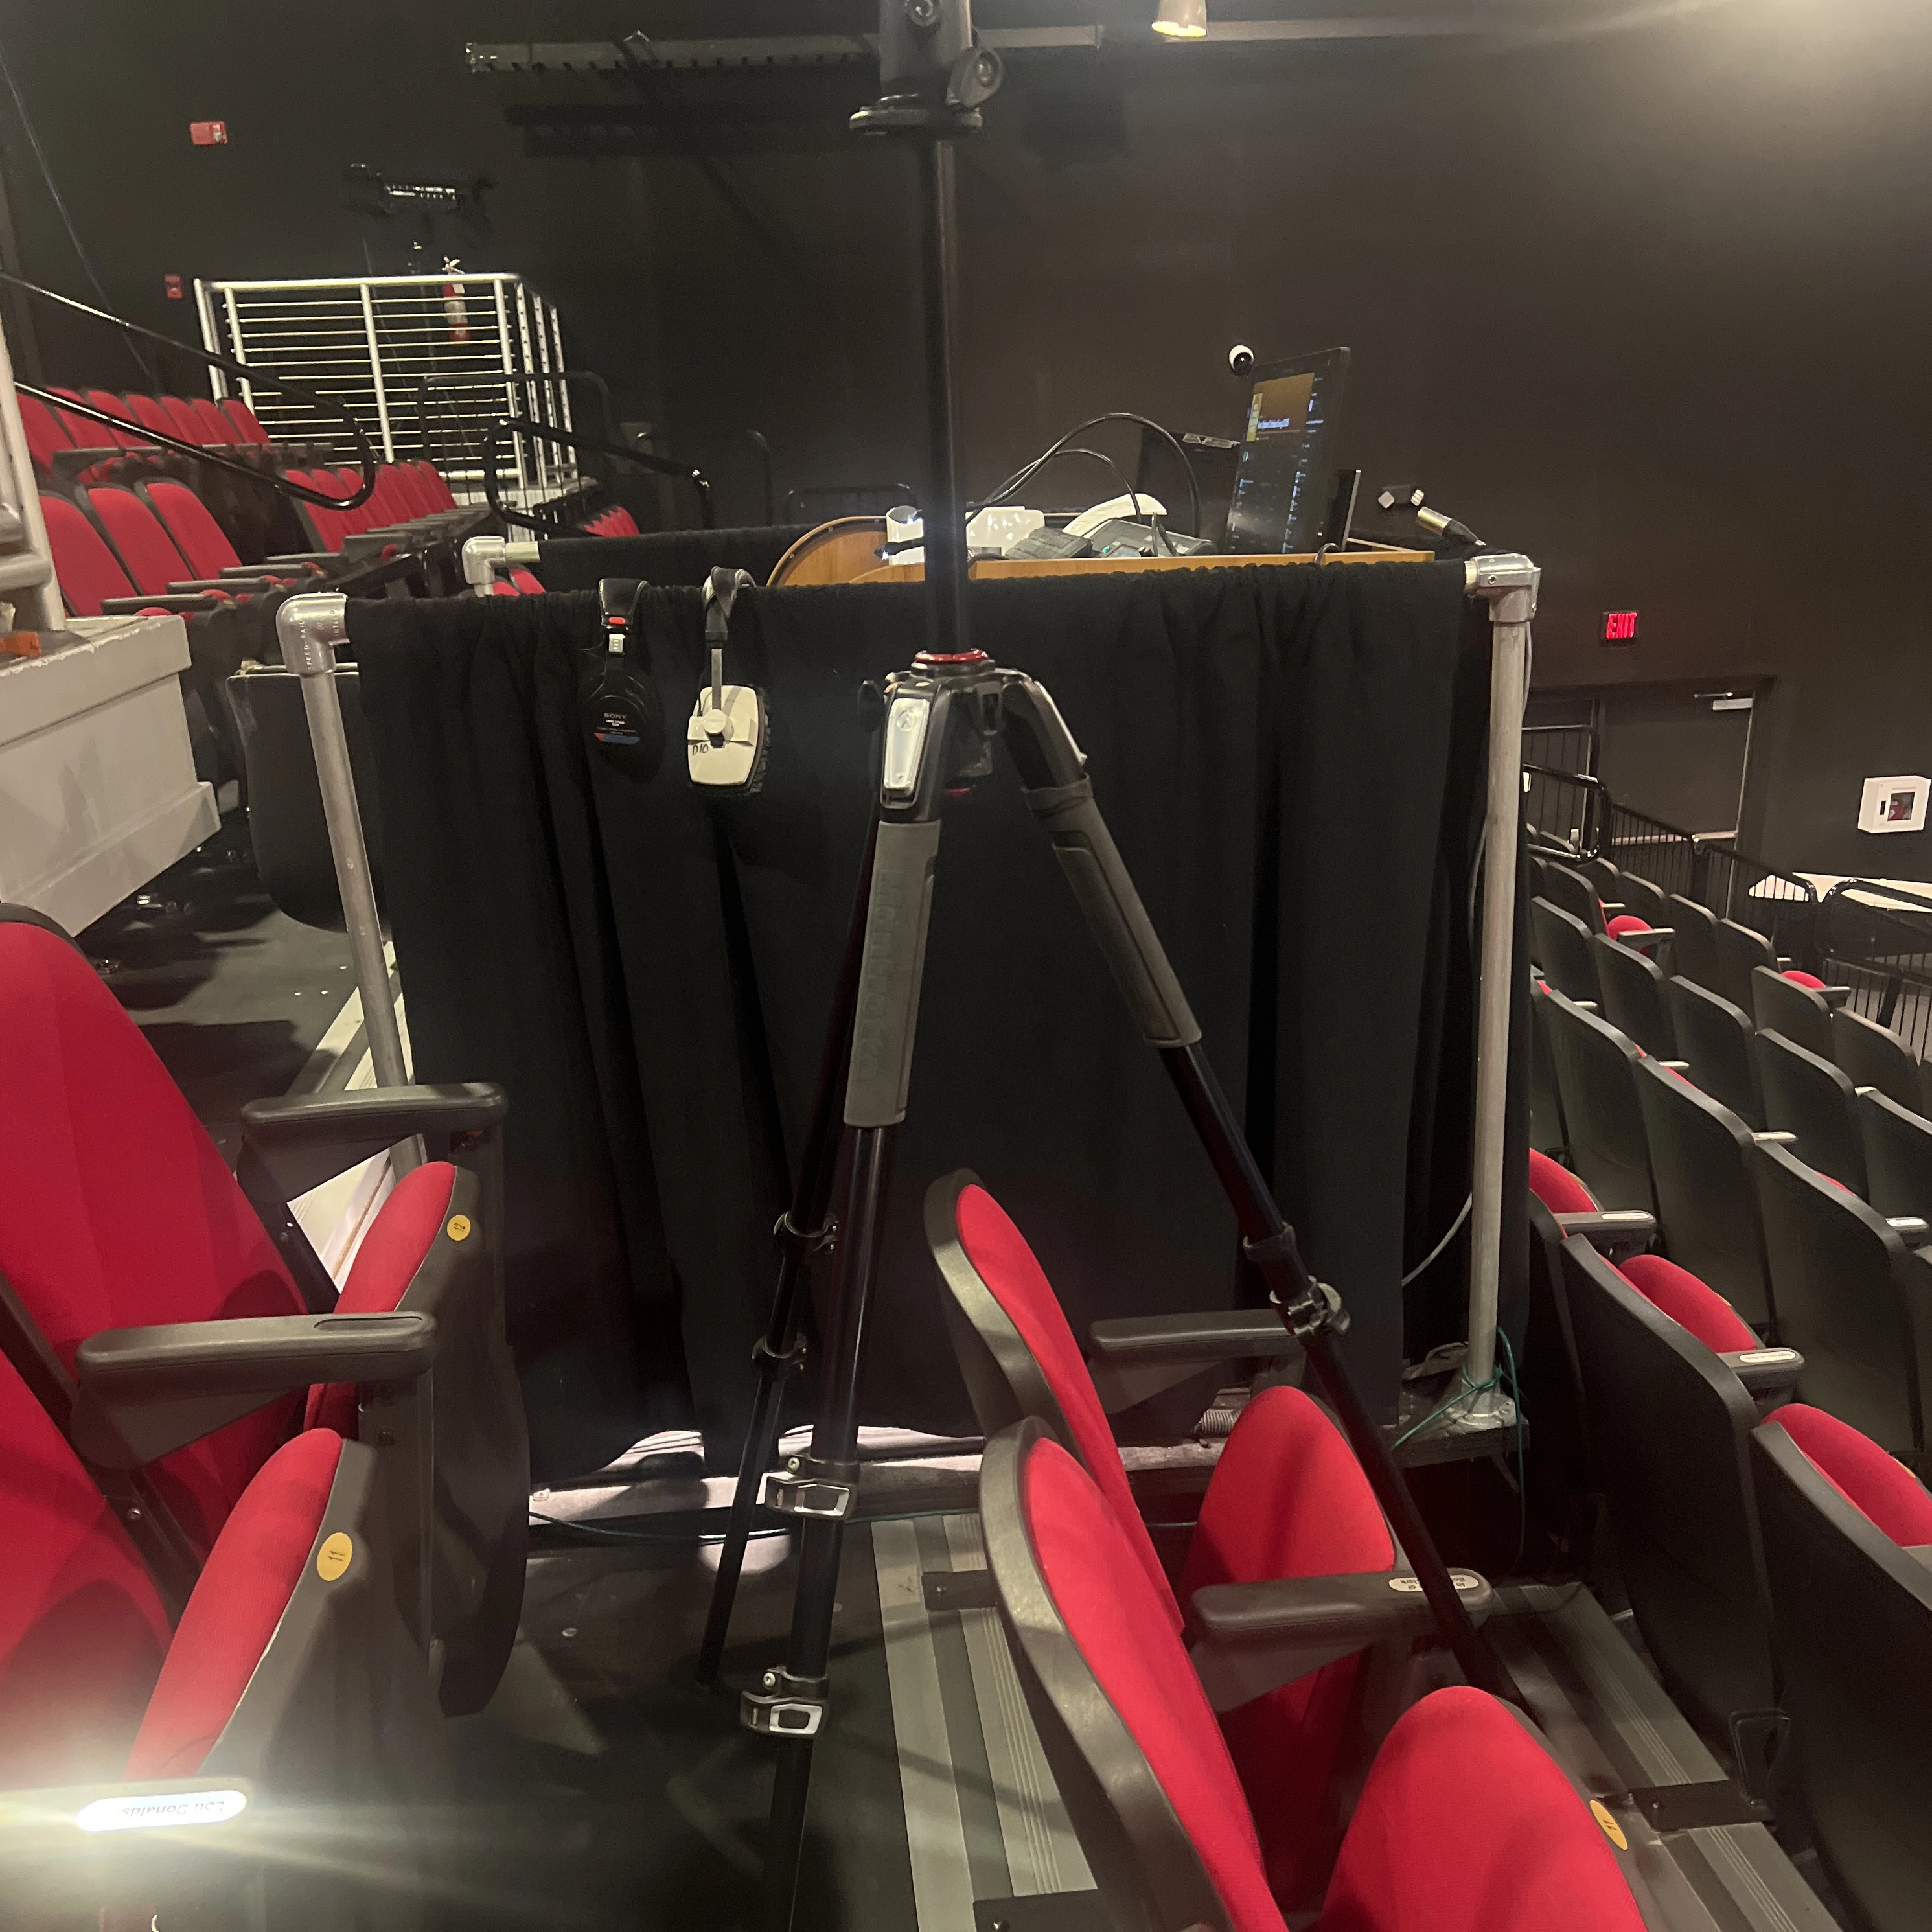
3. Sound Booth Setup
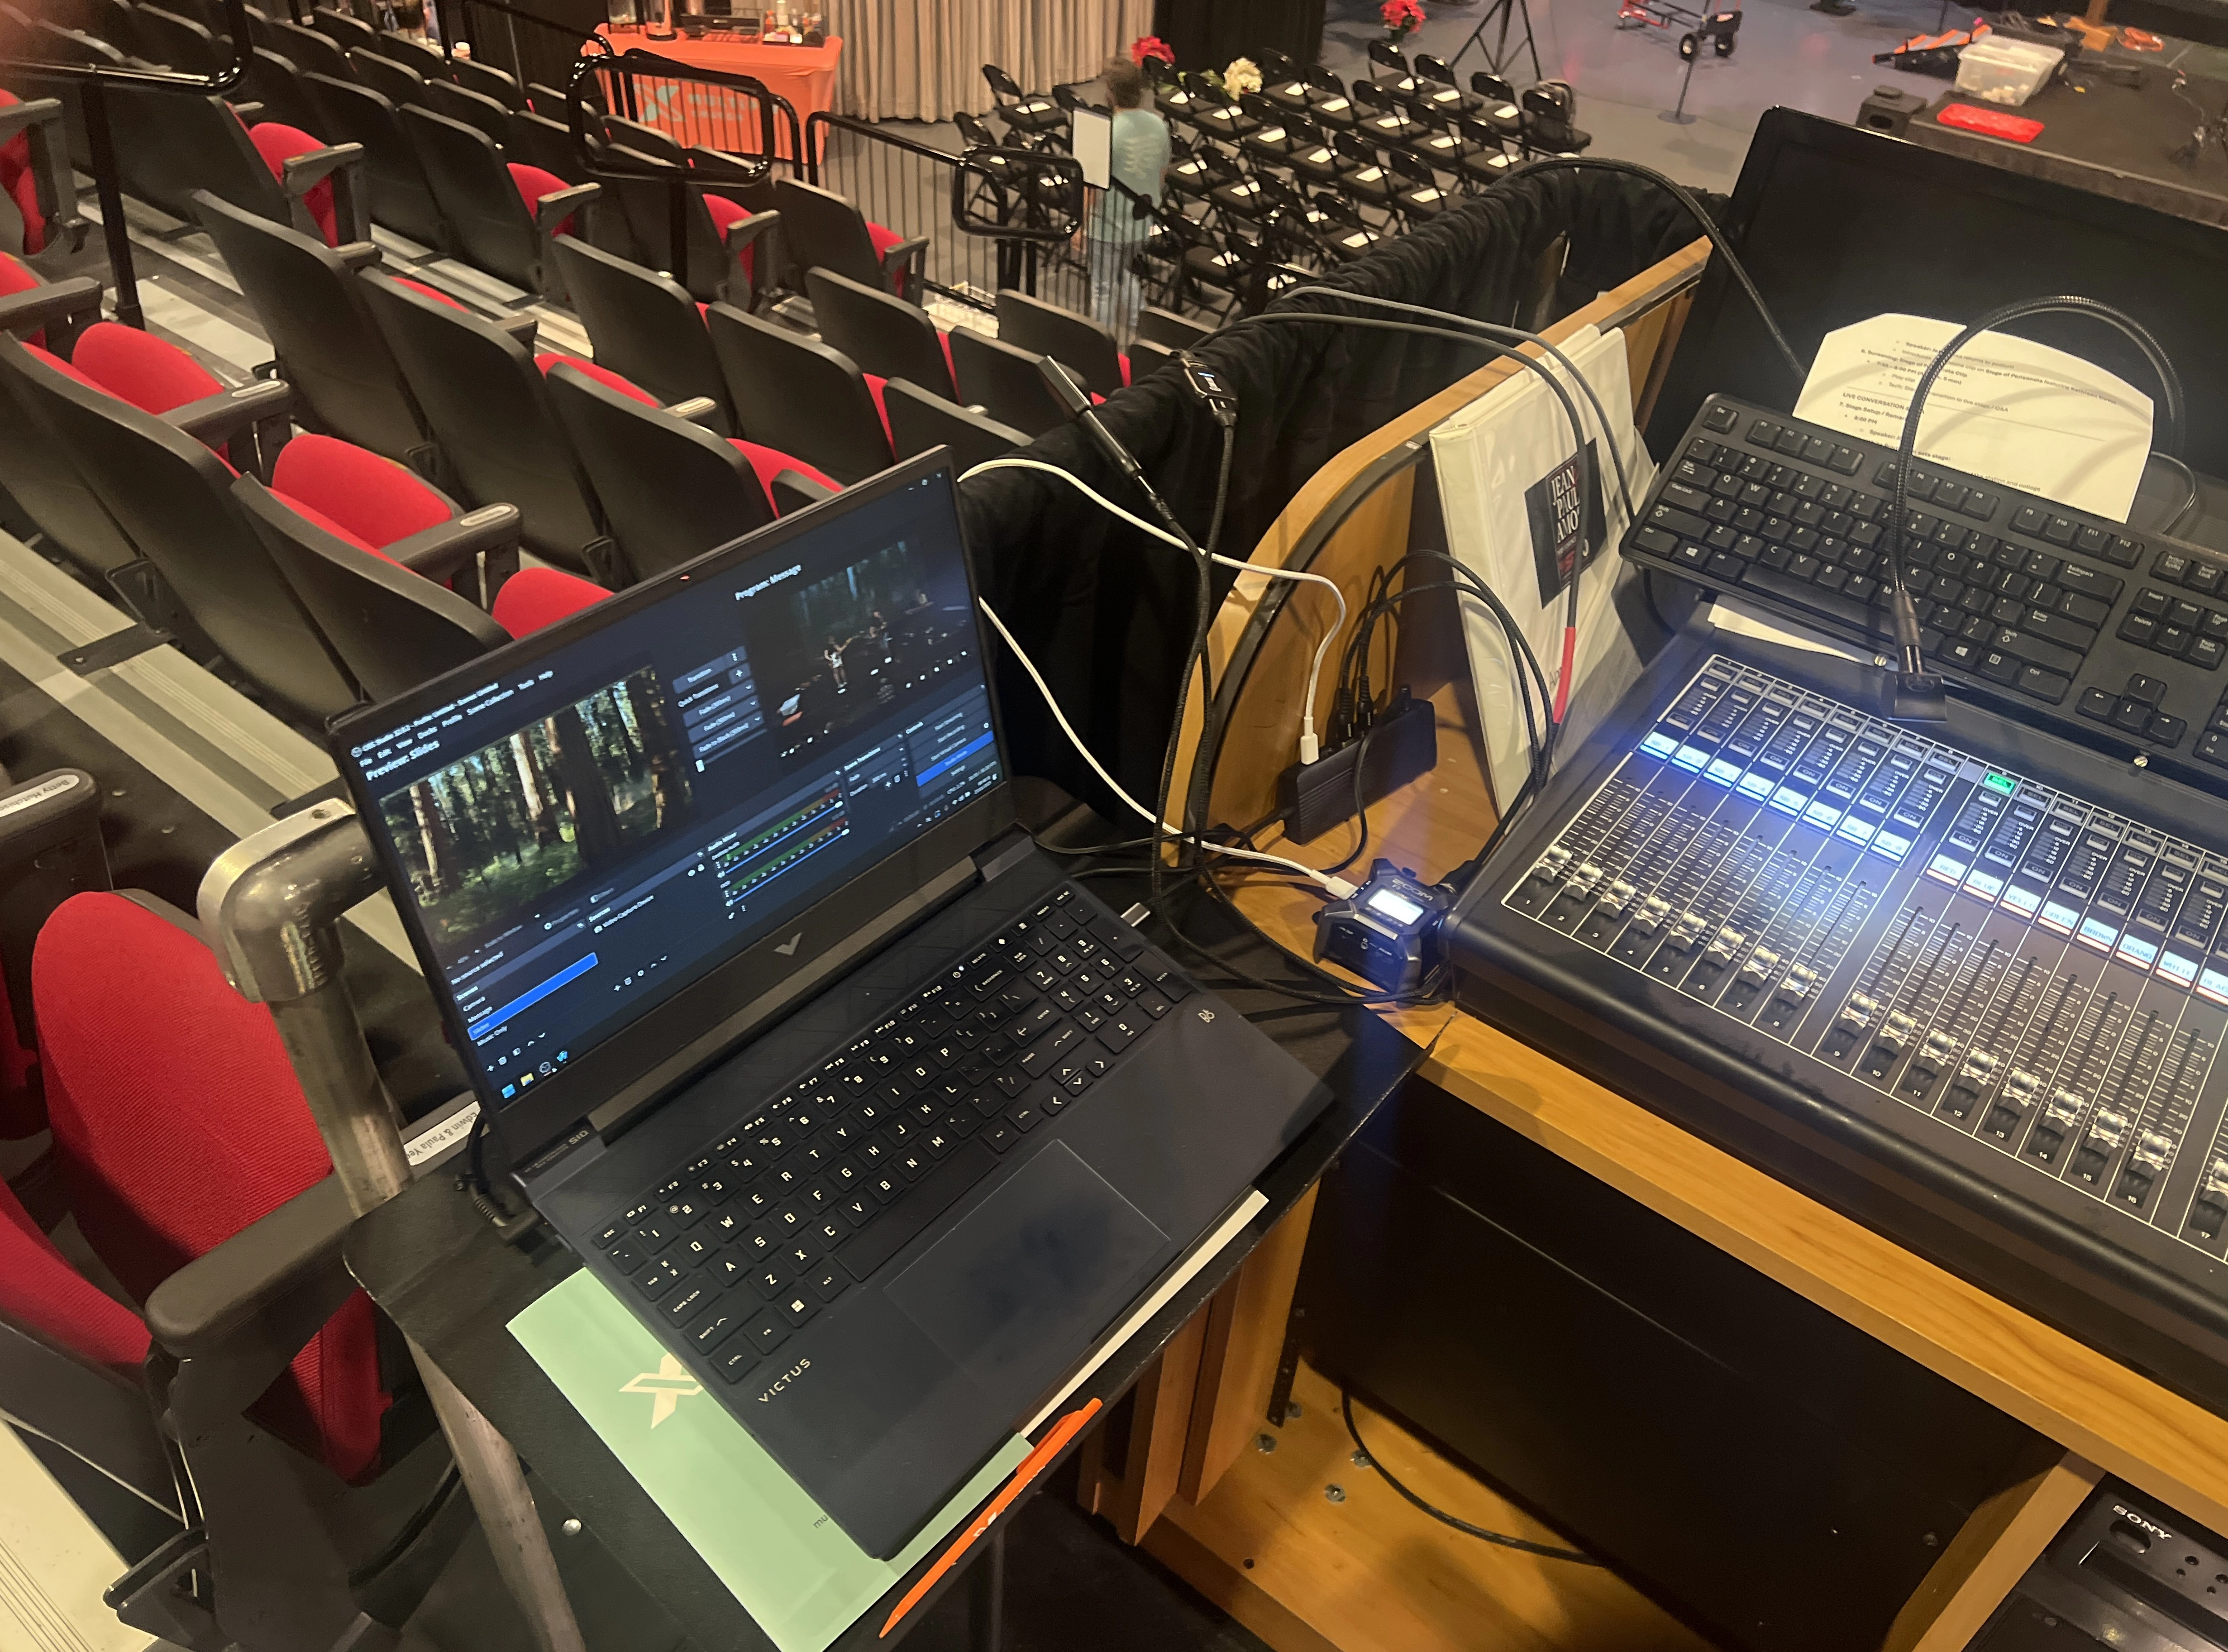
- Return to the sound booth and grab the Victus laptop from the horizontal black bag.
- Plug the laptop charger into the power strip on the right side of the booth. Ensure cables run behind the console.
- Log in using the provided credentials.
- Connect to the PSC Visitor Wi-Fi network.
Tripod Setup
HDMI and USB Connections
- Route the HDMI cord behind the console.
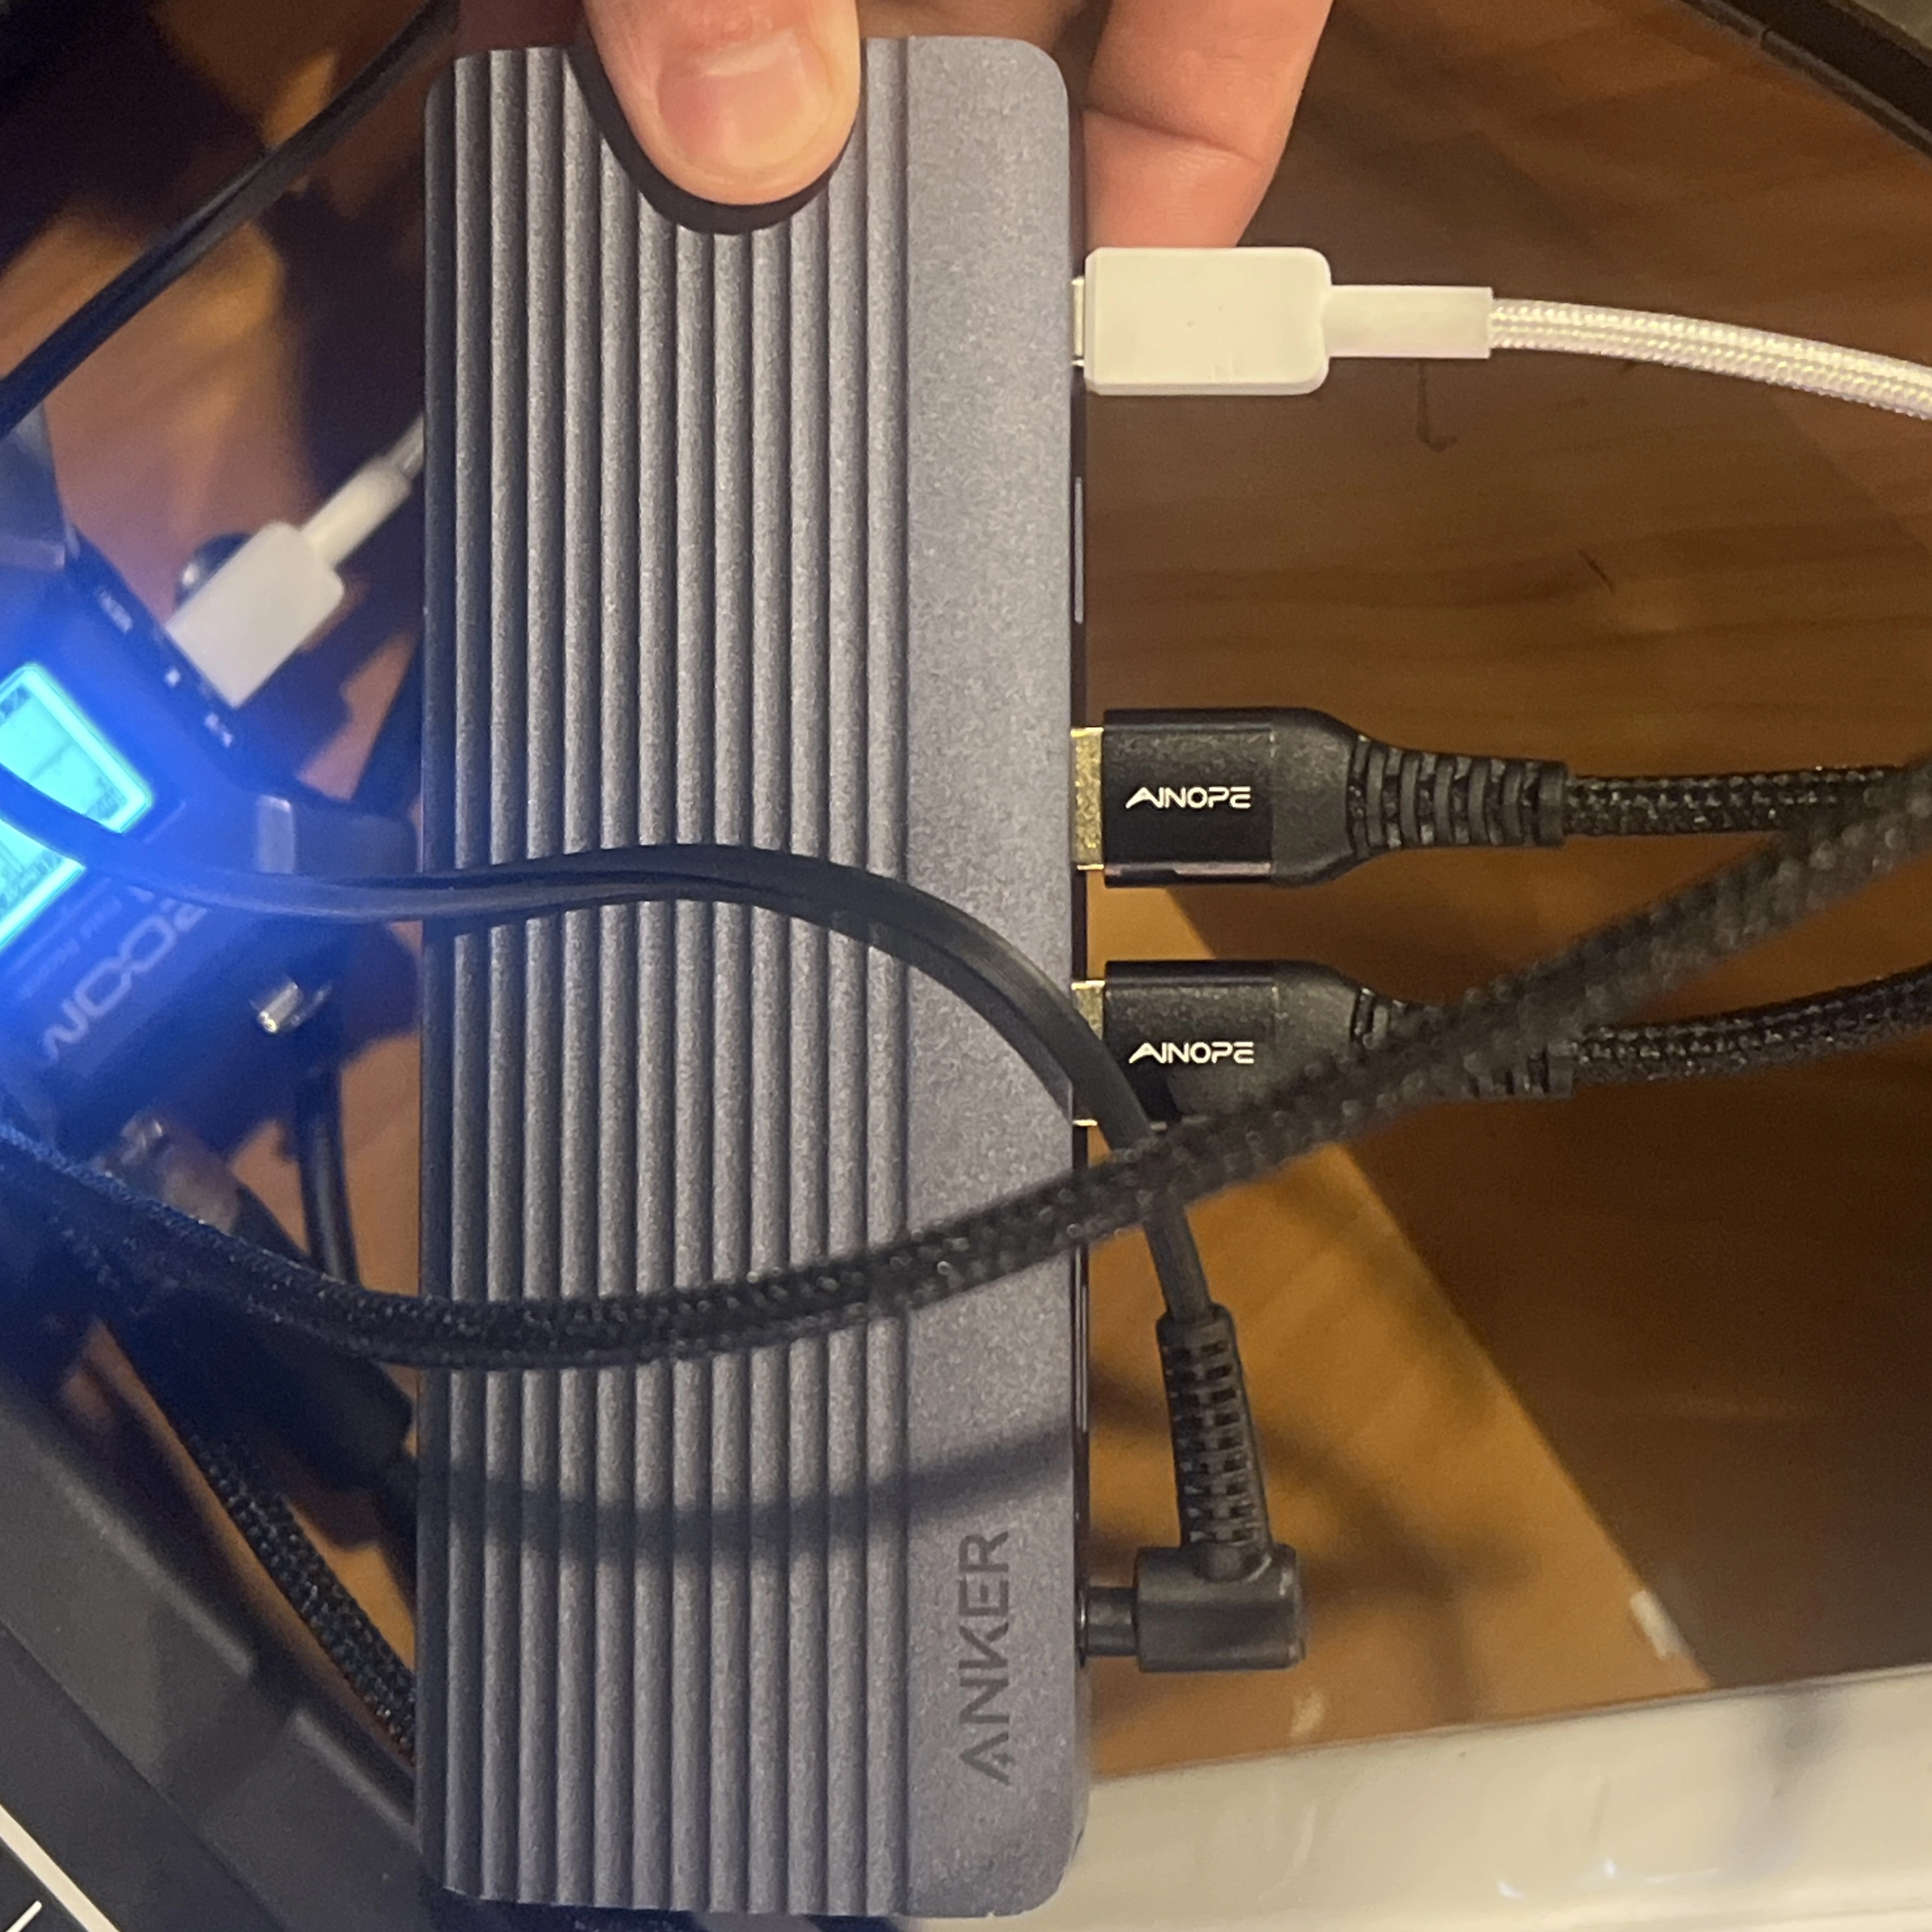
- Grab the USB-C hub and USB-A extender cables.
- Plug the two USB-A cables from the USB-C adapter into the USB-C hub.
- Grab the white charger cable and plug it into the Zoom recorder box.
4. Camera Setup
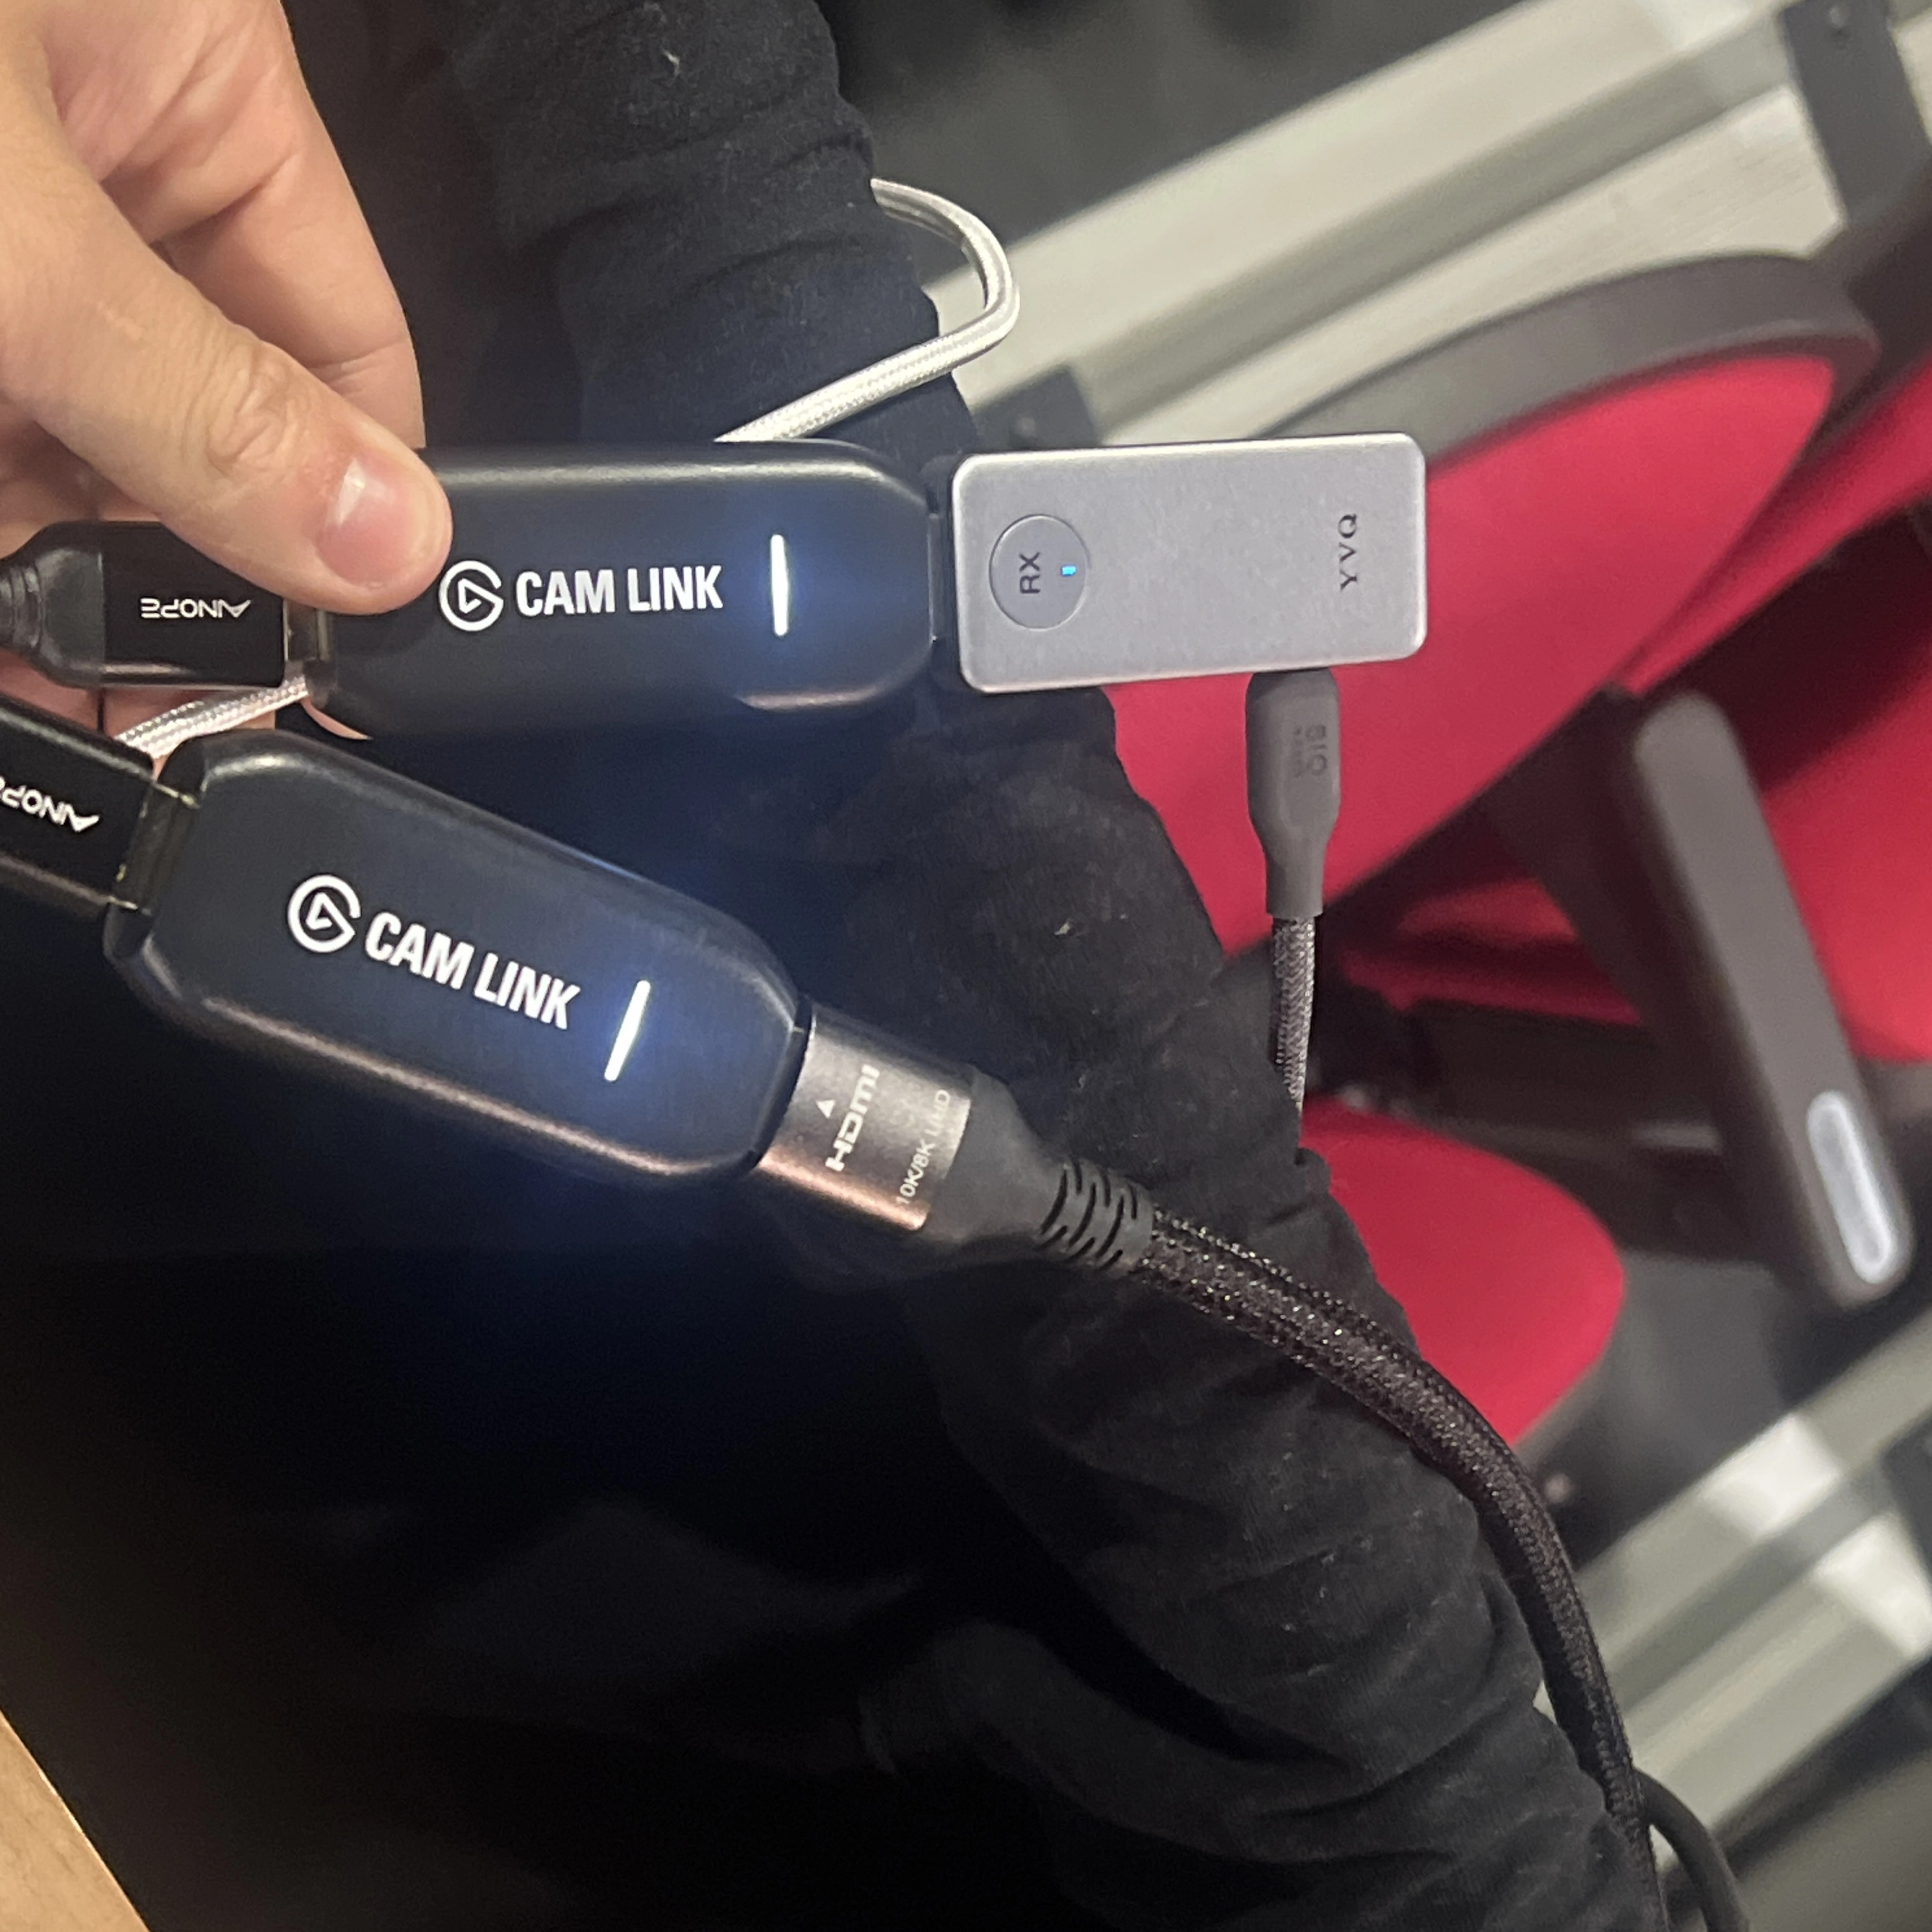
- Grab the two Cam Links from the bag.
- Remove the camera from its bag and mount it on the tripod.
- Open two side panels on the camera to expose the HDMI port and the USB-C port.
- Plug in the larger white power brick and connect its cable to the camera.
- Plug in the HDMI cable.
- Turn on the camera using the power switch.
- Press OK to all prompts during startup.
- After confirming all prompts, remove the lens cap.
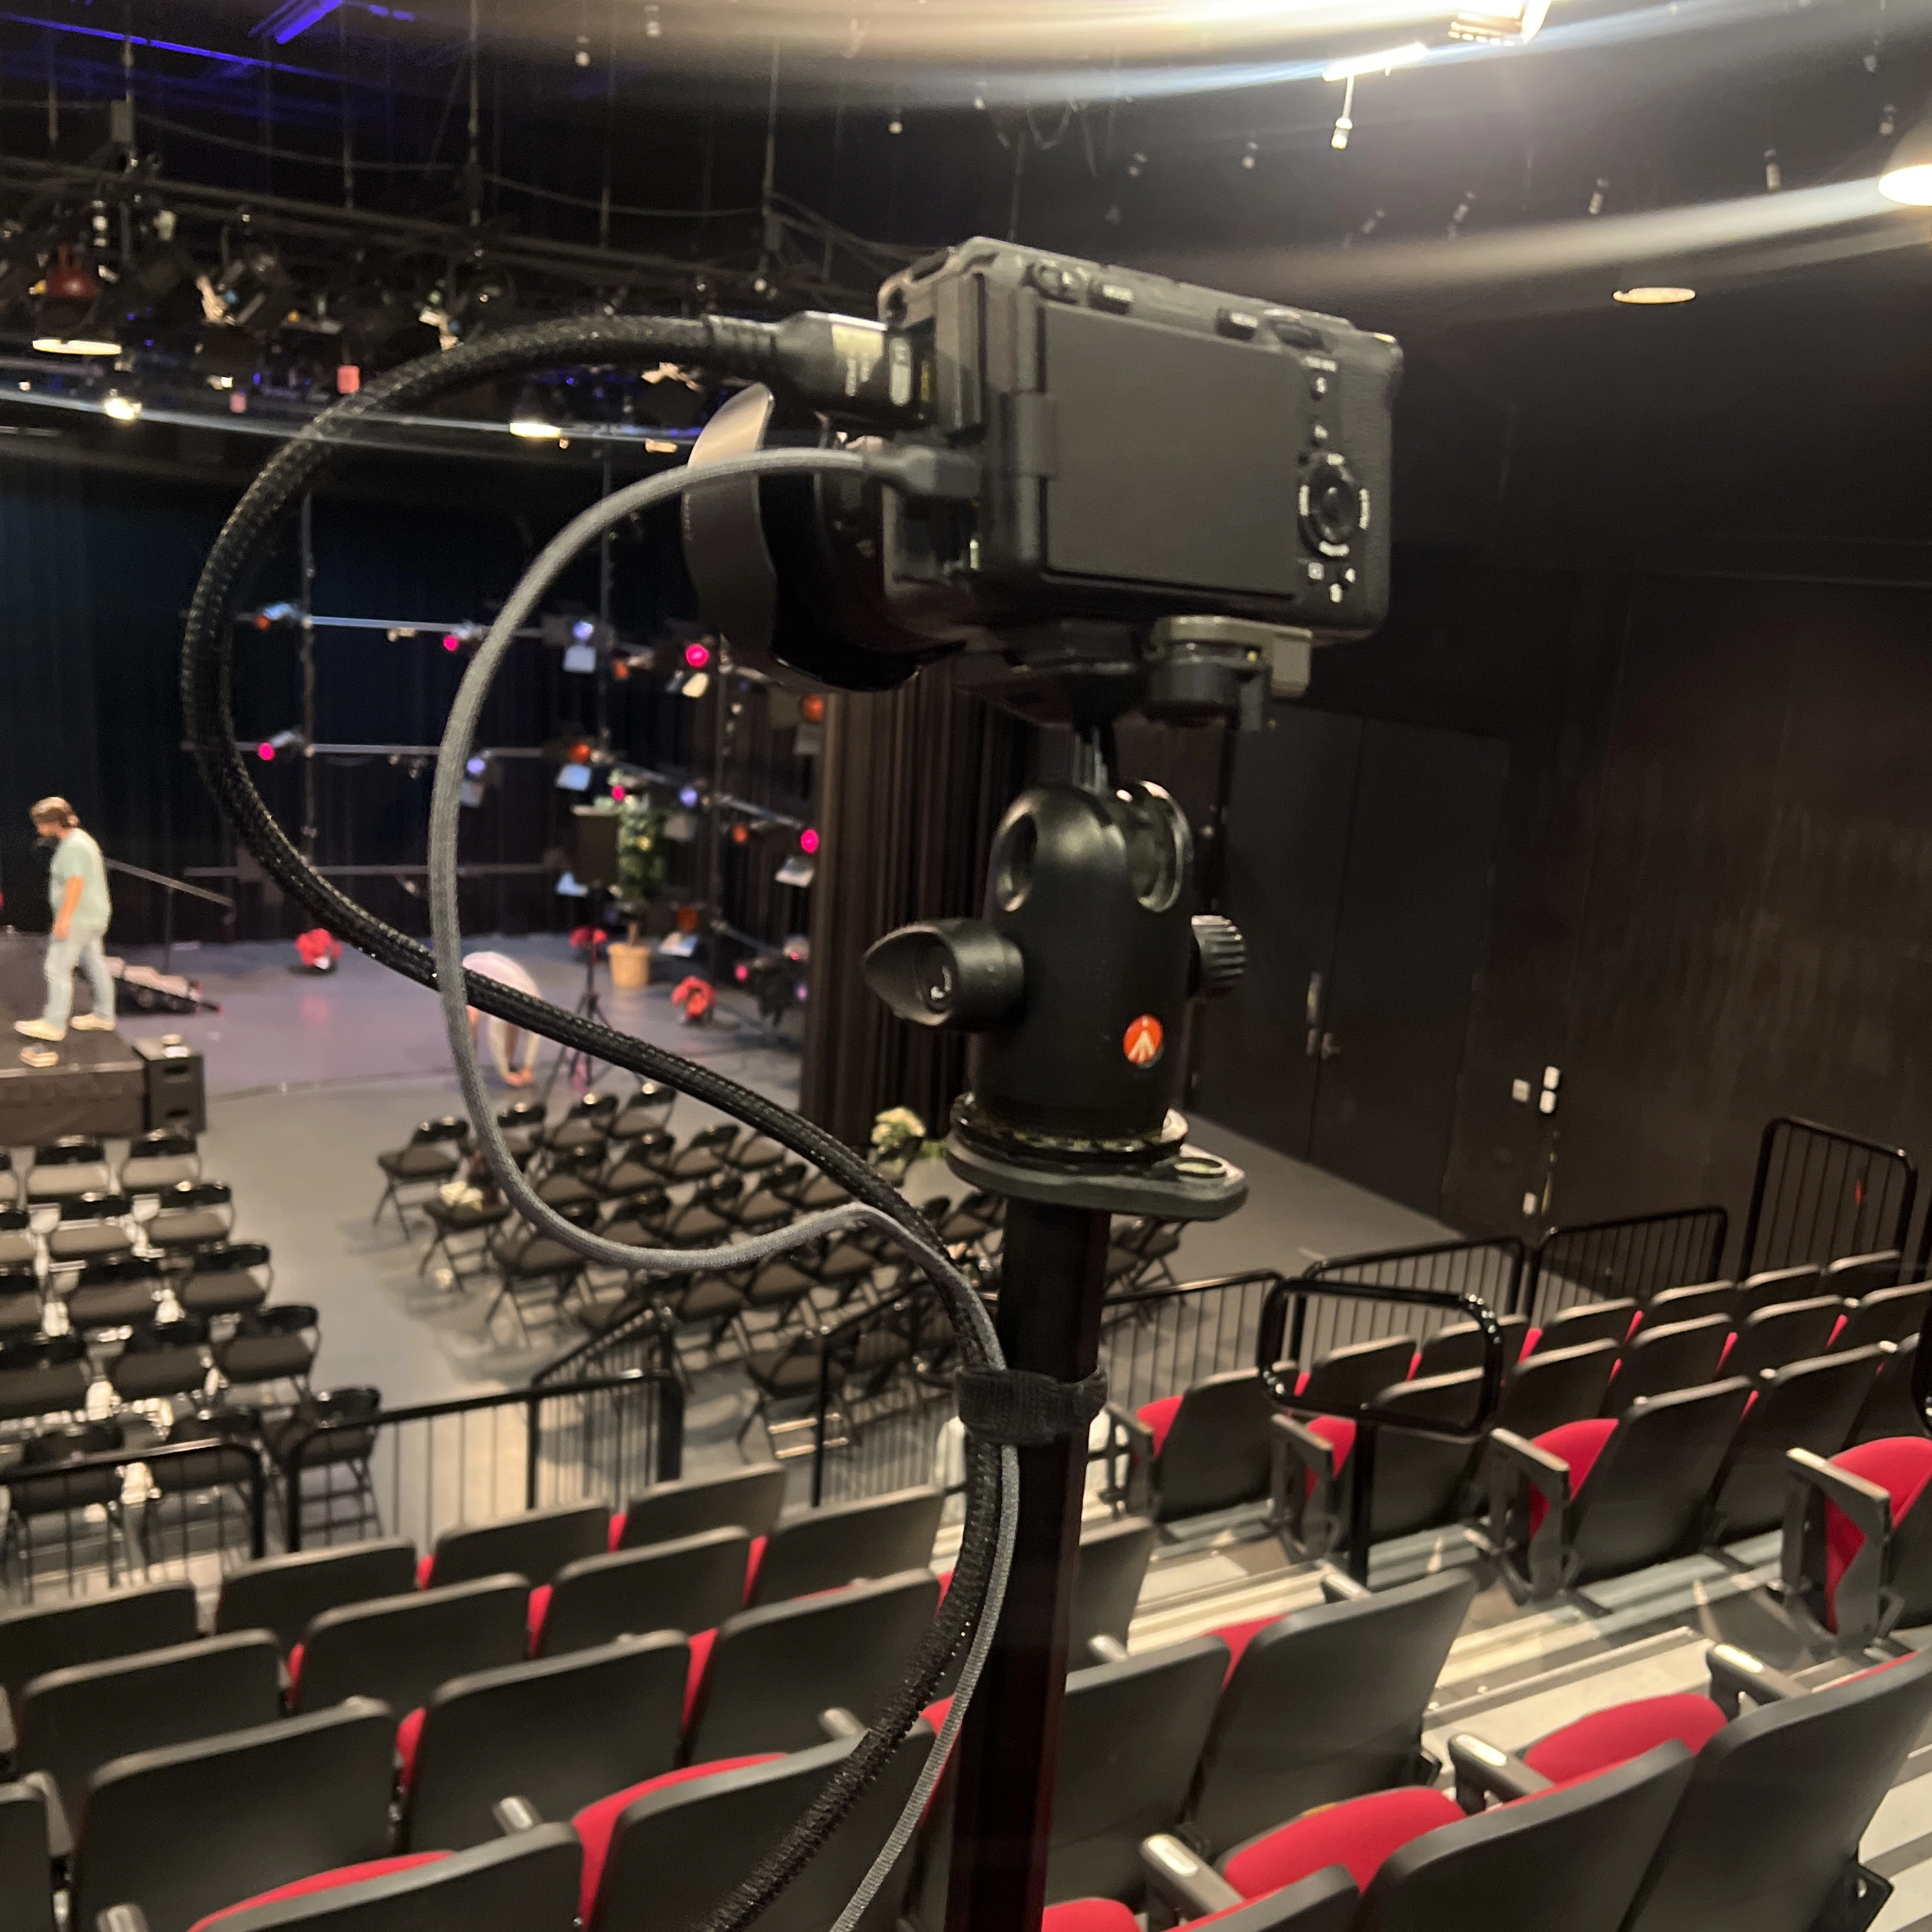
Camera Zoom and Settings
- Use the ridged dial at the center of the lens to zoom in or out.
- Hold the Power button on the Zoom recorder, select USB Audio I/F, then choose PC/Mac, and then Linear.

Camera-to-Computer Connections
- Plug headphones into the USB-C hub.
- Plug the camera’s HDMI cable into one of the Cam Links.
- Ensure the video receiver is connected to the other Cam Link and powered by a USB-C cable.
- A solid blue light should appear when properly powered.
Audio Input
- On the left side of the stage, near the exit sign, locate the XLR audio input cable.
- Run this cable to the Zoom recorder box and plug it into input 2.
5. OBS Studio Configuration
- Open OBS Studio on the Windows computer.
- Ensure Studio Mode (on the right side) is enabled — it should be highlighted in blue.
Program and Preview Windows
- The Program window (right) displays what the livestream audience sees.
- The Preview window (left) is used to prepare the next scene.
- To switch scenes, click Transition.
Troubleshooting Video Inputs
- If the Message and Slides scenes appear reversed, swap the two USB-A cables based on the order they plug into the USB-C hub.
- Only use the Music scene while music is playing. Note that music-only lyrics may cover people; adjust zoom to prevent this.
- The Slides scene displays what appears on the Mac and the projector.
6. YouTube Studio Setup
- After OBS is configured, open the Waterfox browser.
- Open a new tab and navigate to YouTube Studio using the livestream bookmark.
- Edit the livestream title to include the date of the service.
- Update the episode number to one higher than the previous stream.
Starting the Stream
- When the projector displays the countdown timer, click Start Streaming and Start Recording in OBS.
- Ensure the timer appears in the Program window.
- Make sure the band is fully visible during worship and that Jimmy is fully visible while preaching.
- Refer to past livestreams for visual framing guidance.
7. Teardown
- Once the stream is finished, power down all equipment.
- Remove all cables, store everything neatly, and return all equipment to the closet.
Contact
I am open for opportunities.